Estimates
Estimates Overview
Estimates let you present repair costs to customers for approval before work begins. Each estimate is tied to a "Who Pays" contact and automatically pulls line items from the job. Estimates go through a lifecycle: Draft → Sent → Approved (or Declined). You can also void estimates. Lines can also be placed on multiple estimates in case you want to give a few options to the customer.
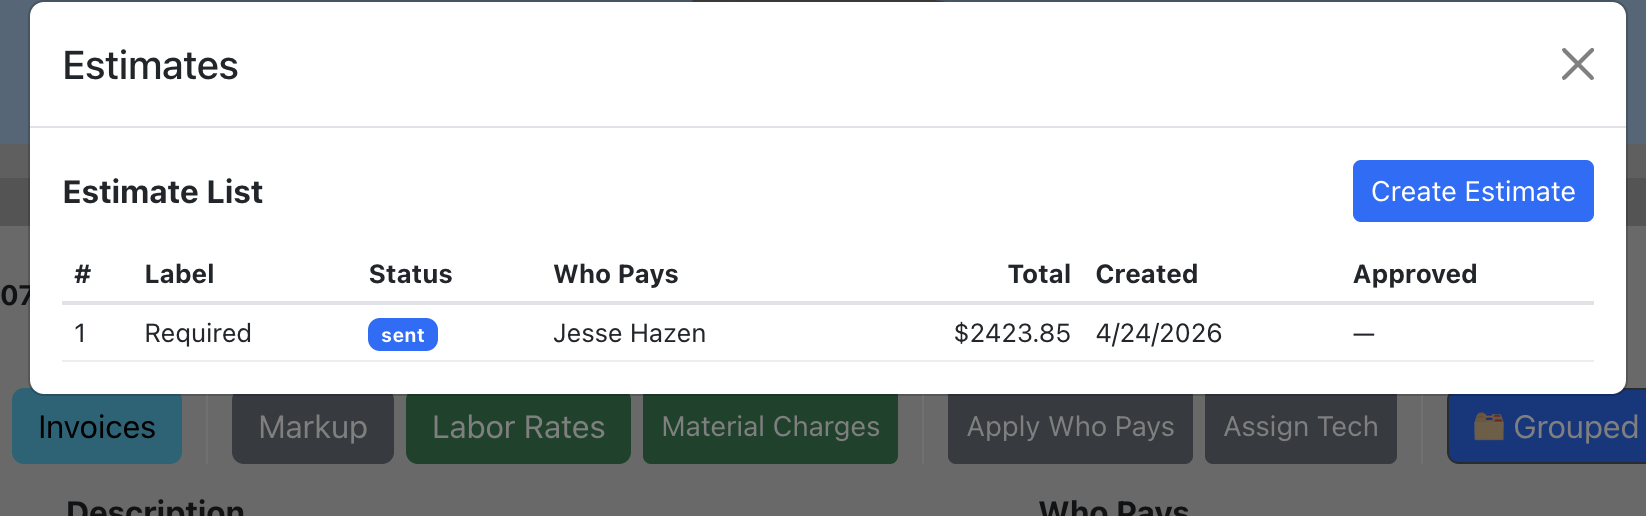
Create an Estimate
- Open a job and go to the Line Items section.
- Click the "Estimates" button.
- Click "Create Estimate".
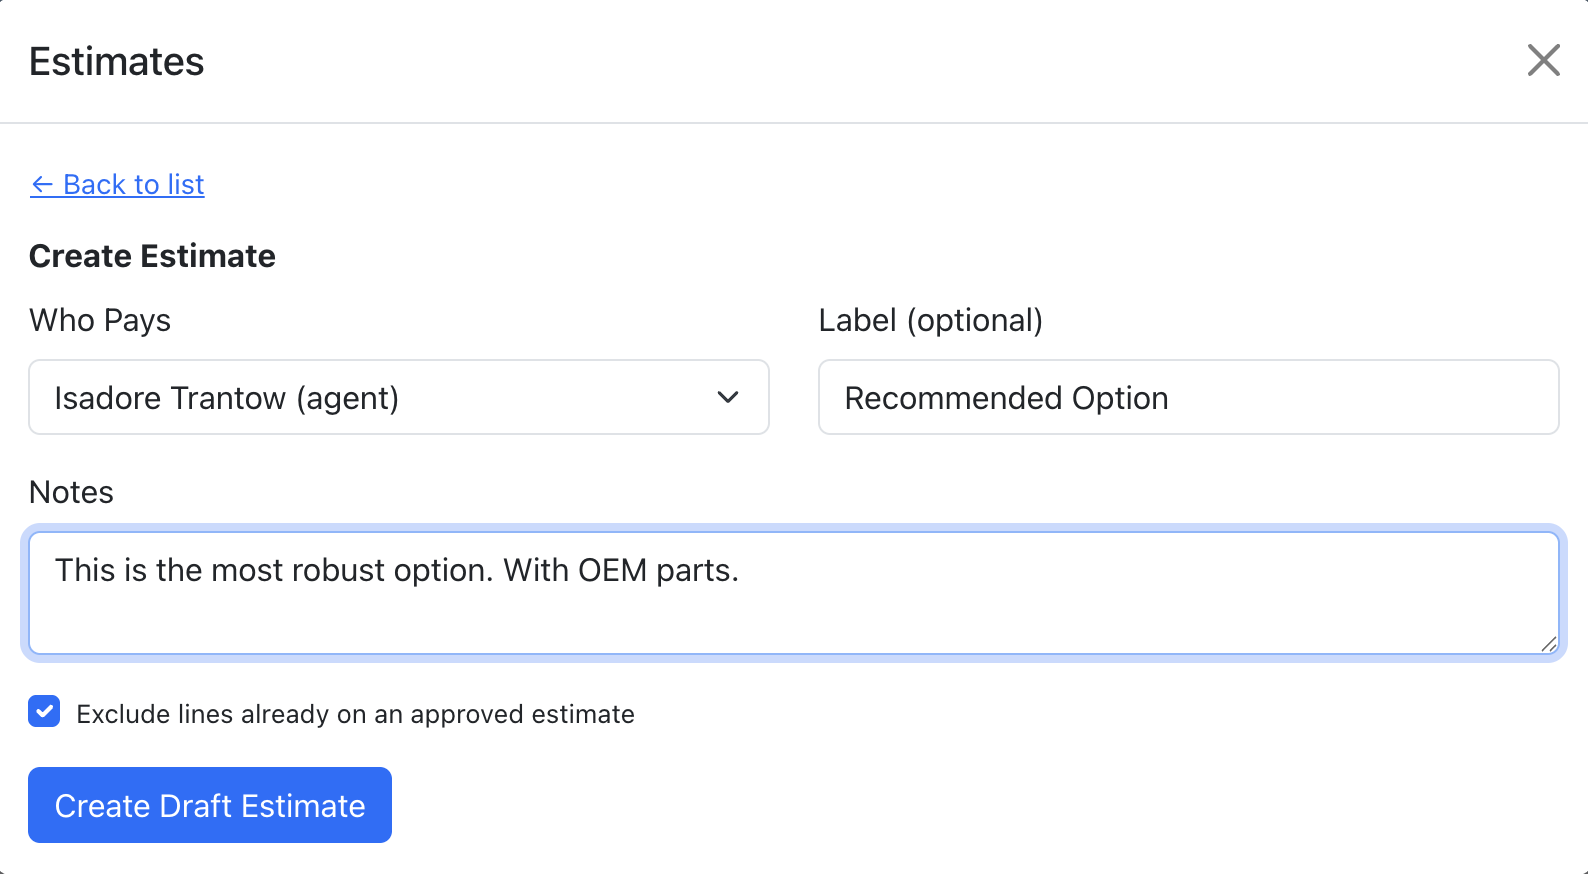
- Select who pays from the dropdown (contacts on the job).
- Optionally add a label (e.g. "Required", "Recommended", "Supplement") and notes.
- The "Exclude lines already on an approved estimate" checkbox prevents duplicate billing.
- Click "Create Draft Estimate". The system auto-generates line items from the job's line items that match the selected "Who Pays" contact.
Send an Estimate
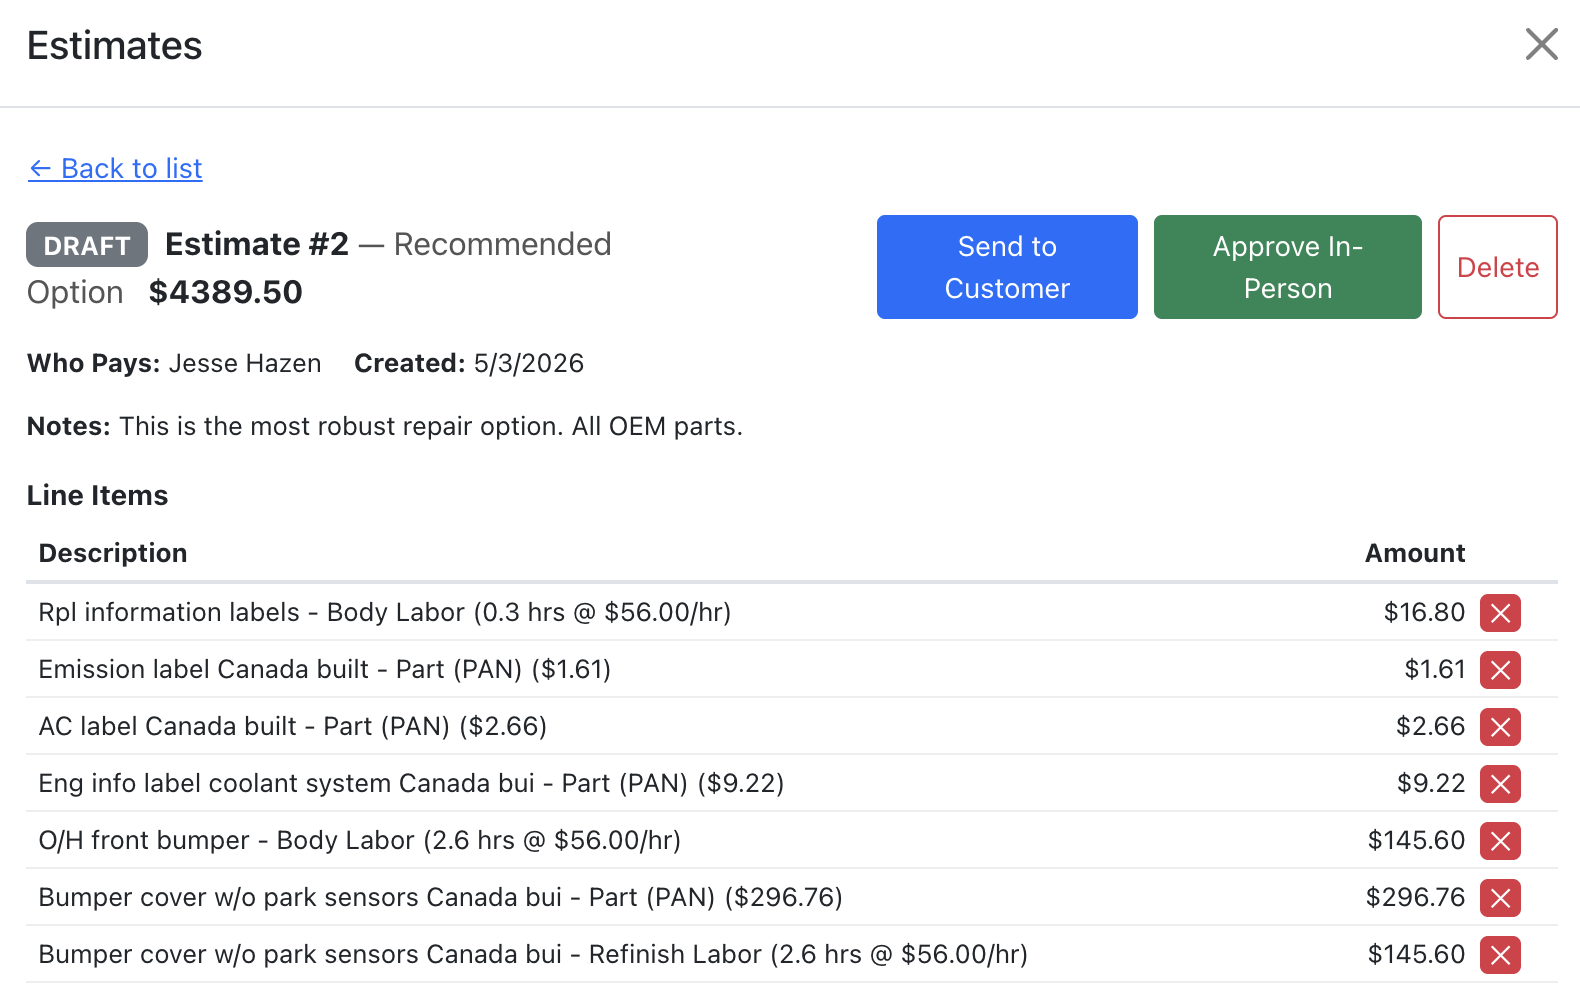
Once a draft estimate is ready, you can send it to the customer.
- Open the estimate detail view.
- Click "Send to Customer".
- Choose a delivery method:
- Send via Email — Sends an email with estimate details and an approval link. Requires the customer to have an email on file with consent.
- Generate Link Only — Creates an approval link you can share via text, chat, or in person. No email is sent.
After sending, you can also copy the approval link at any time using the "Copy Approval Link" button.
Branding: If you've uploaded a shop logo (see Company Settings → Shop Logo), it will automatically appear at the top of the estimate email and on the customer approval page.
Approve In-Person (Kiosk Mode)
Overview: Kiosk mode lets a customer approve an estimate on your device in person. The screen locks into a full-screen kiosk view that the customer cannot navigate away from.
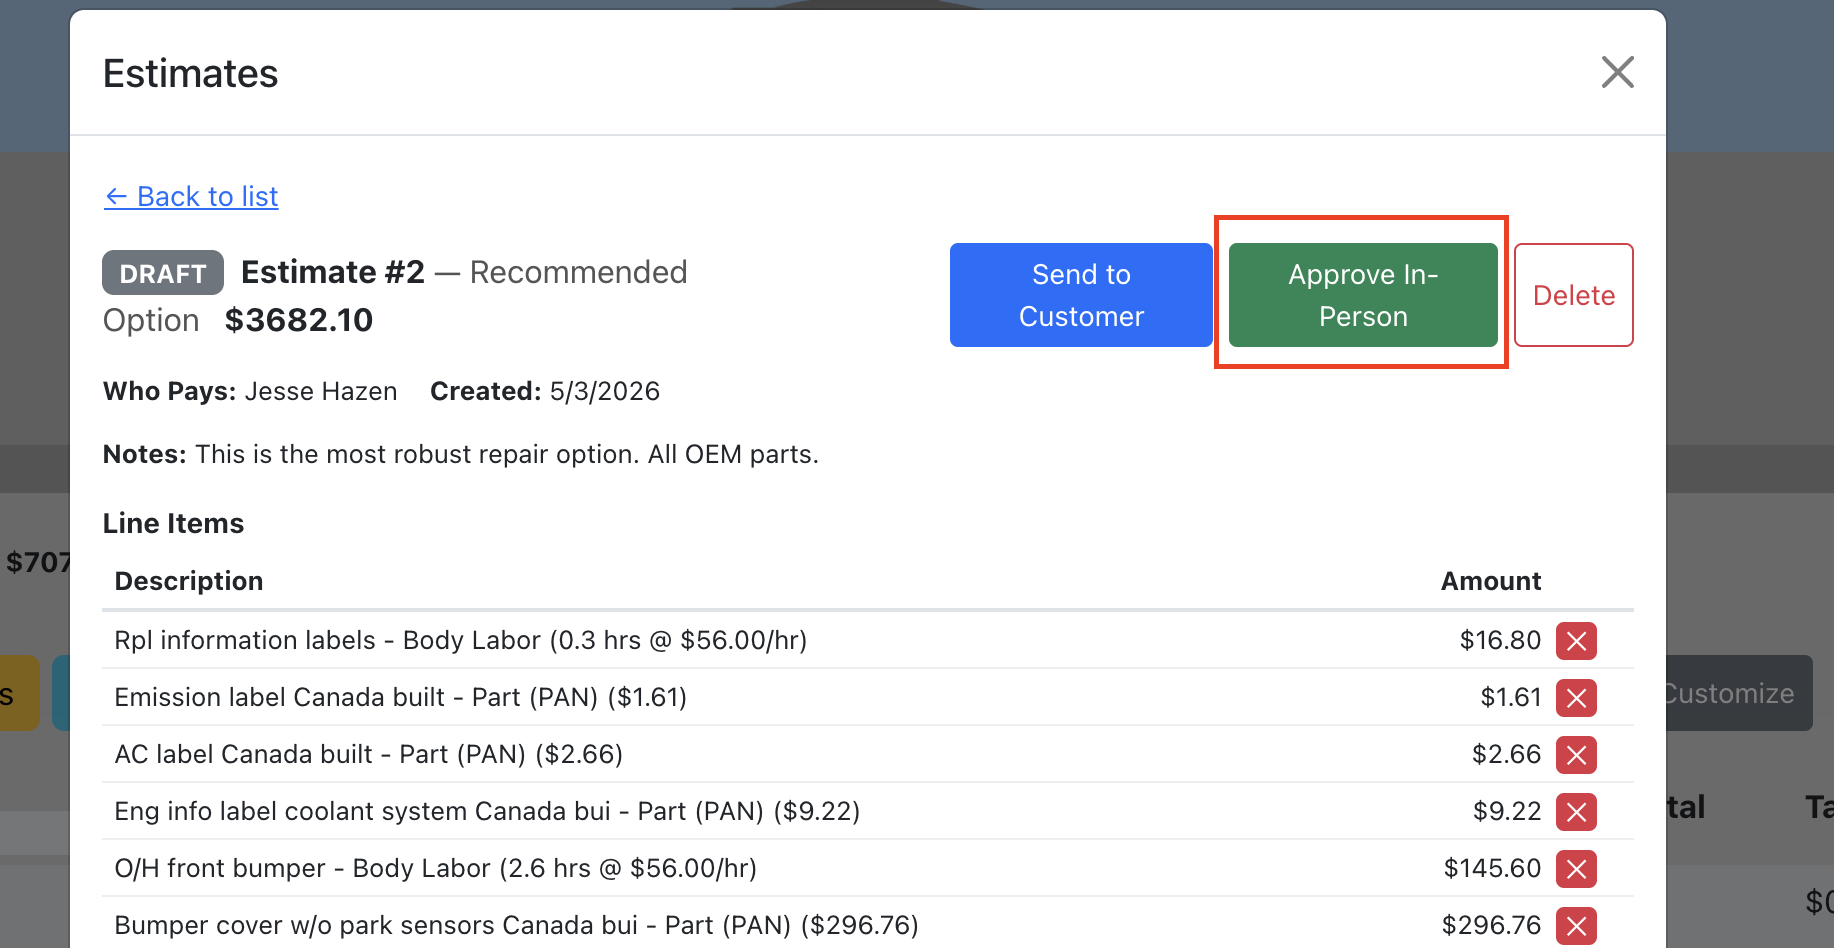
- Open the estimate detail view.
- Click "Approve In-Person".
- The device enters kiosk mode showing the estimate details.
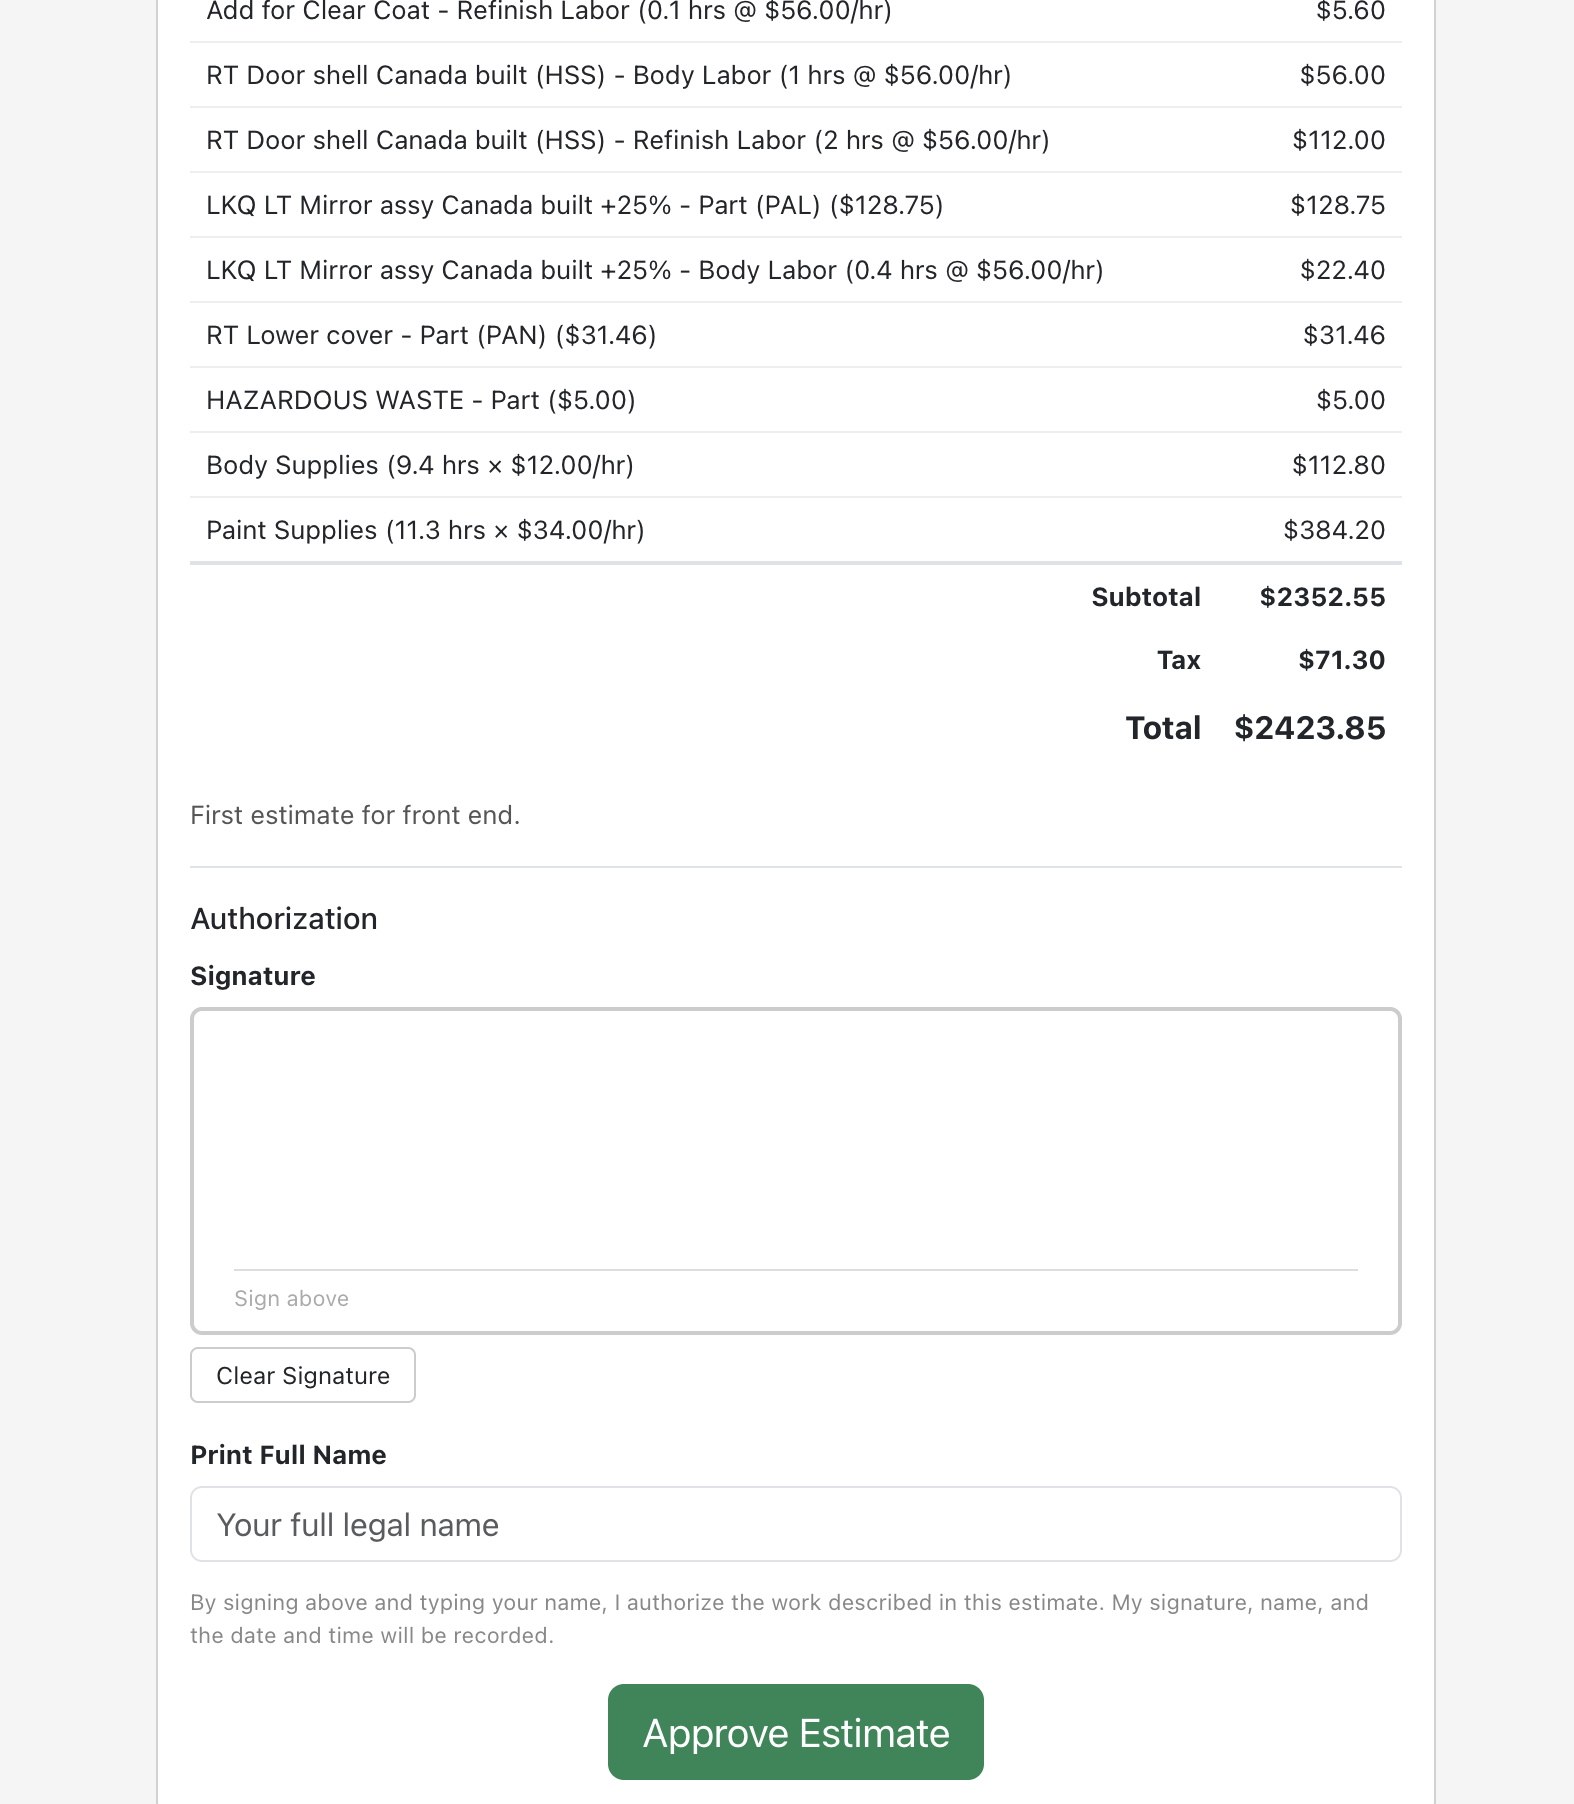
- The customer reviews the line items, signs with their finger or stylus, types their full name, and clicks "Approve Estimate".
- After approval, a confirmation screen appears asking them to return the device.
- An employee exits kiosk mode using the lock icon and entering the shop's PIN.
Customer Approval
When a customer receives an estimate (via email or link), they see the estimate details and can approve it with a signature and their printed name. The signature, name, date/time, and user agent are all recorded.
If your shop has a logo uploaded, it is displayed at the top of the approval page above the company name, giving the page a professional branded look.
After approval, the shop can view the approved snapshot — a frozen record of exactly what the customer approved, including line items and totals at the time of approval.
Manage Estimates
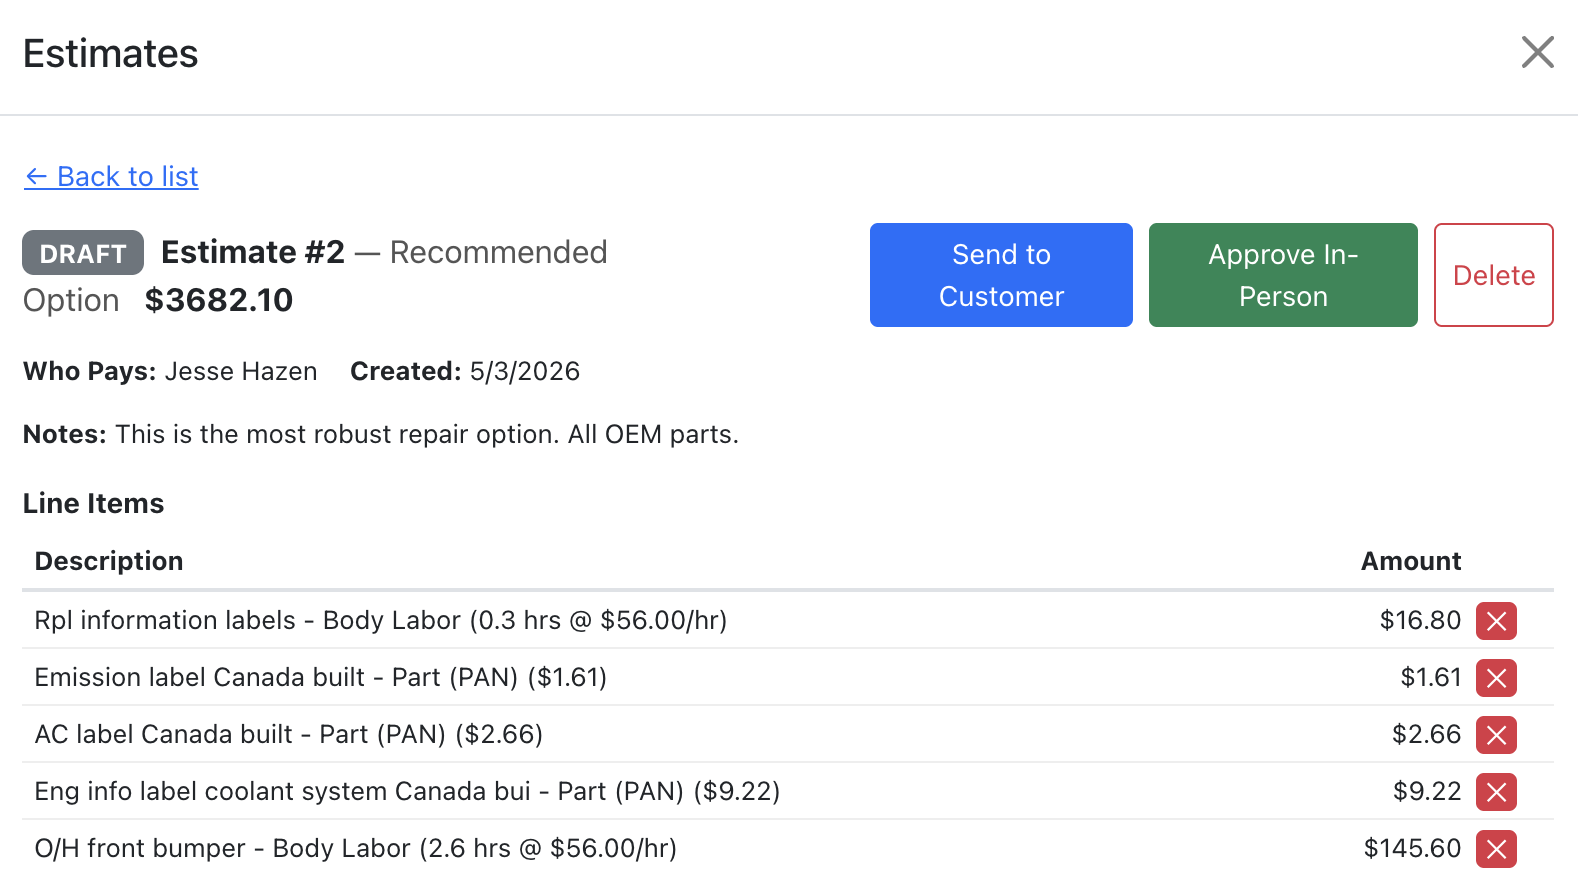
- Add/Remove Line Items — While in draft status, you can add or remove individual line items from the estimate.
- Void/Delete — Draft estimates can be deleted. Sent estimates can be voided.
- View Approved Snapshot — For approved estimates, click "View Approved Snapshot" to see the exact line items and totals at the time of approval.
- Filter Line Items — In the main line items table, use the Estimates column filter to show only line items on a specific estimate or by status.
Estimate Disclaimer
You can attach a customizable disclaimer to every estimate. The disclaimer is shown to customers before they sign — whether they approve via email link, the public approval page, or in-person on a kiosk device.
Setting Up Your Disclaimer
- Go to Settings → Company Settings.
- Expand the Estimate Disclaimer section.
- Use the rich text editor to write your disclaimer. You can format with bold, italic, underline, headings, bullet lists, and numbered lists.
- Click Save Disclaimer.
How It Works
- Shown before signing — The disclaimer is displayed to the customer above the signature area on the approval page and kiosk screen.
- Included in email — When you send an estimate via email, the disclaimer text appears in the email body.
- Frozen at approval — A copy of the disclaimer is permanently saved on the estimate at the time it is sent or approved. Future edits to your disclaimer template will not change what was shown on previously approved estimates.
- View on approved estimates — After an estimate is approved, you can click the "Disclaimer" link next to the customer signature to view the exact disclaimer the customer agreed to.
Tips
- Keep your disclaimer concise and relevant. Common uses include authorization language, liability limitations, payment terms, and storage fees.
- If you update your disclaimer, existing approved estimates retain the old version. Only new estimates will use the updated text.
- The disclaimer is optional — if you leave it blank, no disclaimer section will appear on the estimate.