Time Clock
General Clock In/Out
Overview: The general time clock is available in the top navigation bar. It tracks when an employee starts and ends their workday.
- Click the clock button in the top navigation bar.
- The button shows "Clock In" when not clocked in.
- After clocking in, it shows the time you clocked in and a green indicator.
- Click again and confirm to clock out. If you are punched into any jobs, those will also be punched out automatically.
Hovering over the clock button while punched into jobs shows which repair orders you're currently working on.

Job Punch In/Out
Overview: You can punch in and out of individual jobs to track time spent on specific repair orders. This is separate from the general clock.
- In the jobs list, find the job you want to track time on.
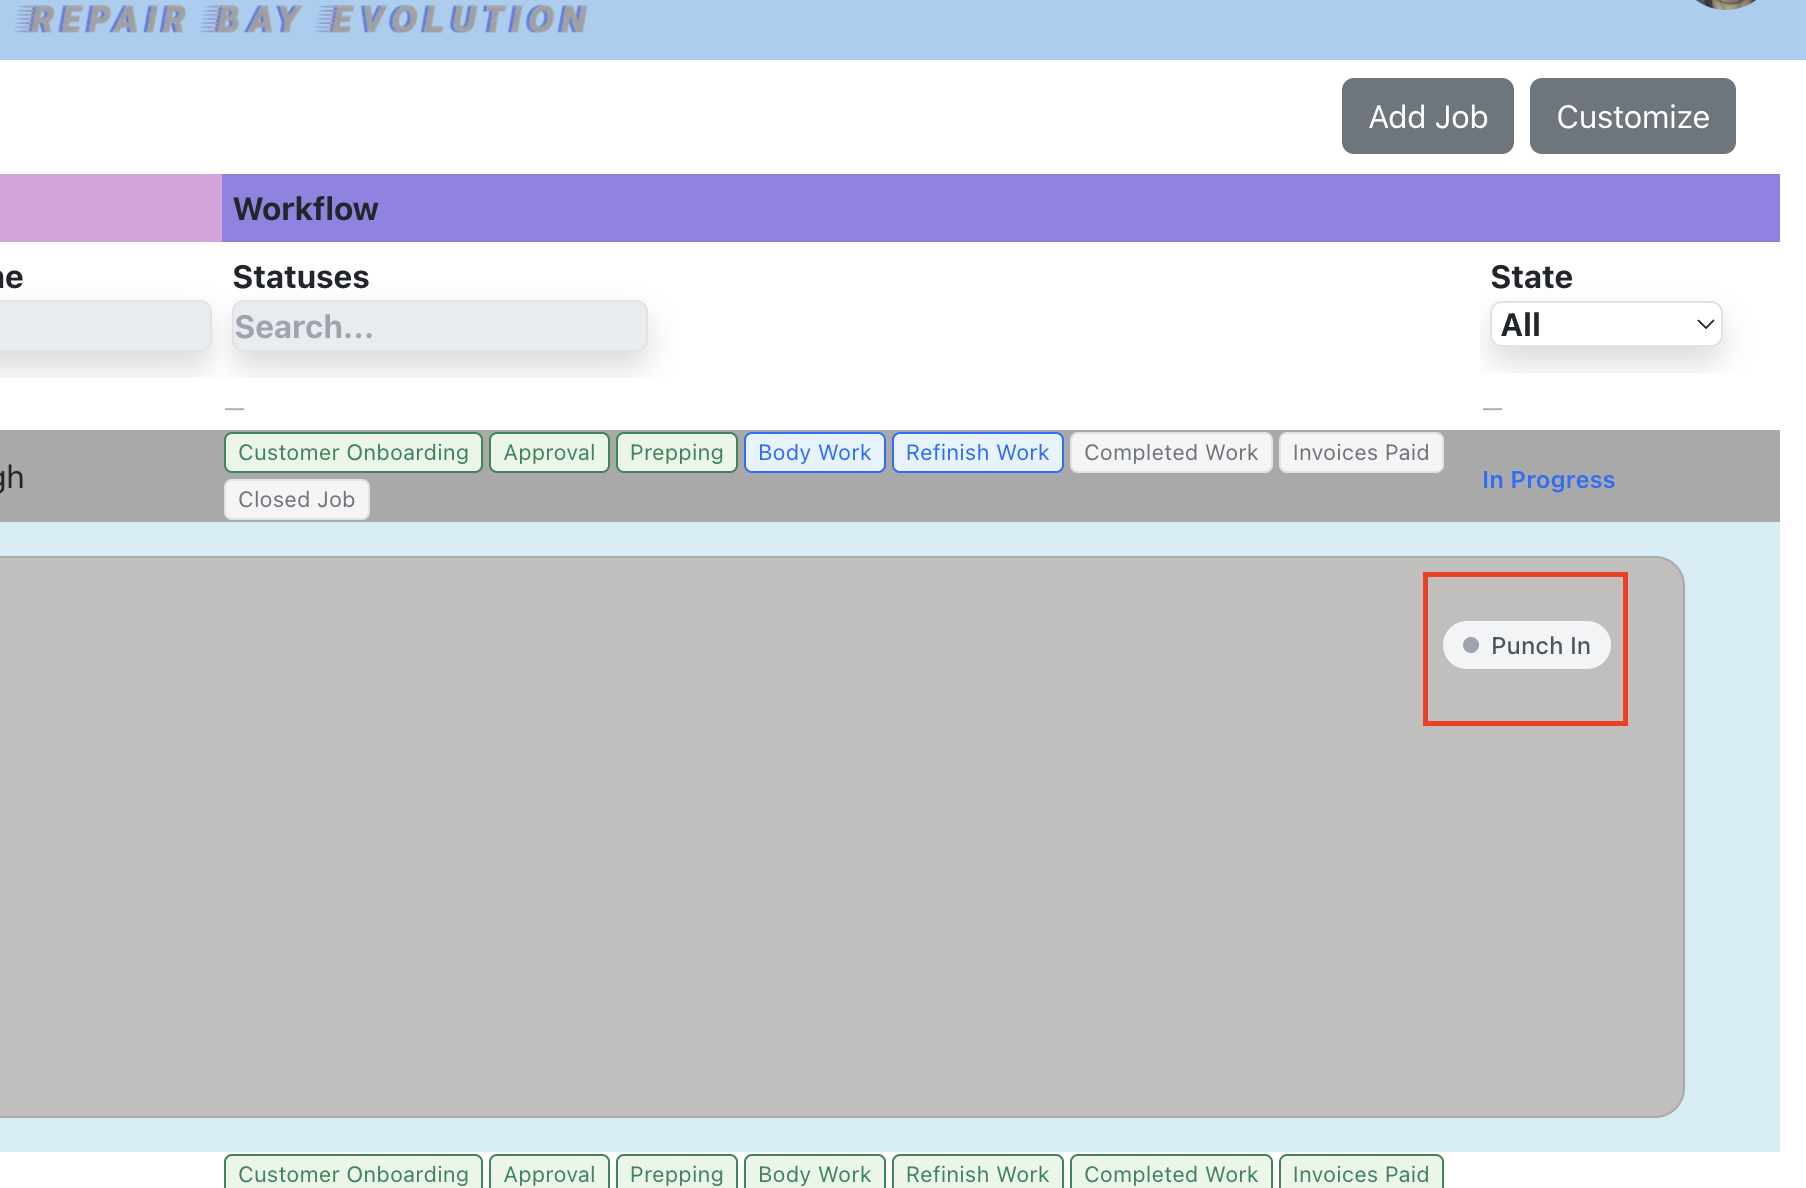
- Click the "Punch In" button on the job row.
- The button turns green and shows the time you punched in.
- Click again and confirm to punch out of that job.
Time Clock Admin
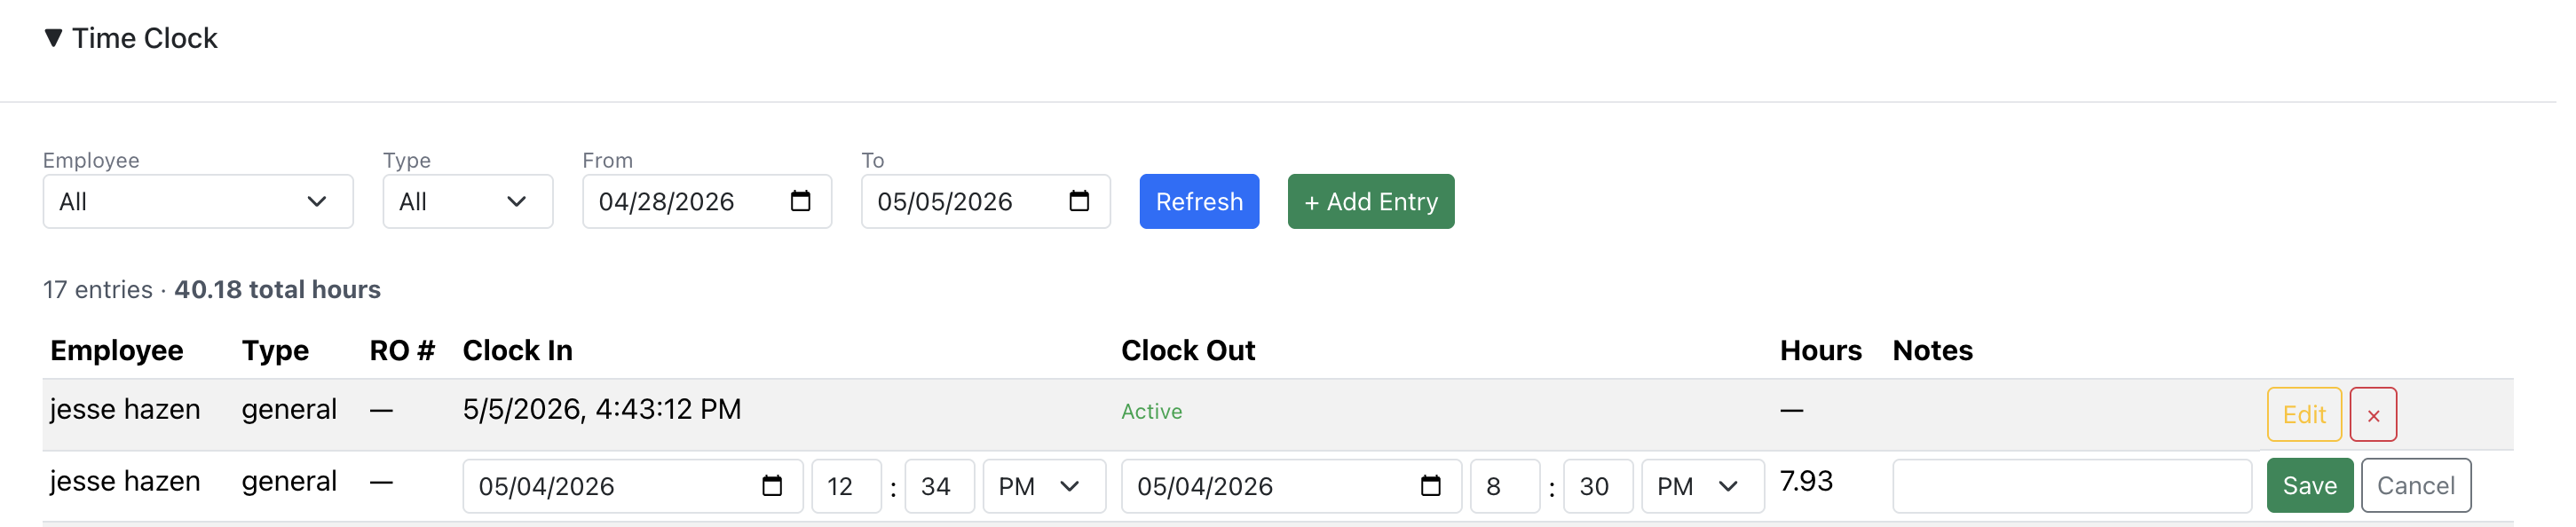
Overview: Admins can view, edit, add, and delete time entries for all employees. Access this from Payroll → Time Clock.
- Go to Payroll from the side menu and expand the Time Clock section.
- Filter by employee, type (general or job), and date range.
- View total hours for the filtered entries.
- Click "Edit" on any entry to adjust clock in/out times and notes.
- Click "+ Add Entry" to manually create a time entry for an employee.
- Click "×" to delete an entry.