Customers
Overview
What is a customer? A customer is a durable record of a person or business you do work for — their name, phone, email, address, and notes — kept in one place and reused across jobs. This is different from the contacts on an individual job: a job's contacts are a snapshot of who was involved in that repair, while a customer is the lasting identity behind those contacts.
Linking a job's contact to a customer means you don't have to re-type the same person's details every time they come back, and you get a running history of every job tied to them.
- Browse and search all your customers from the Customers area.
- Recognize repeat customers while adding a contact to a job or appointment, and copy their info in with one click.
- Keep a history of every job linked to a customer.
- Edit, add notes, archive, and export your customer list.
Customers List
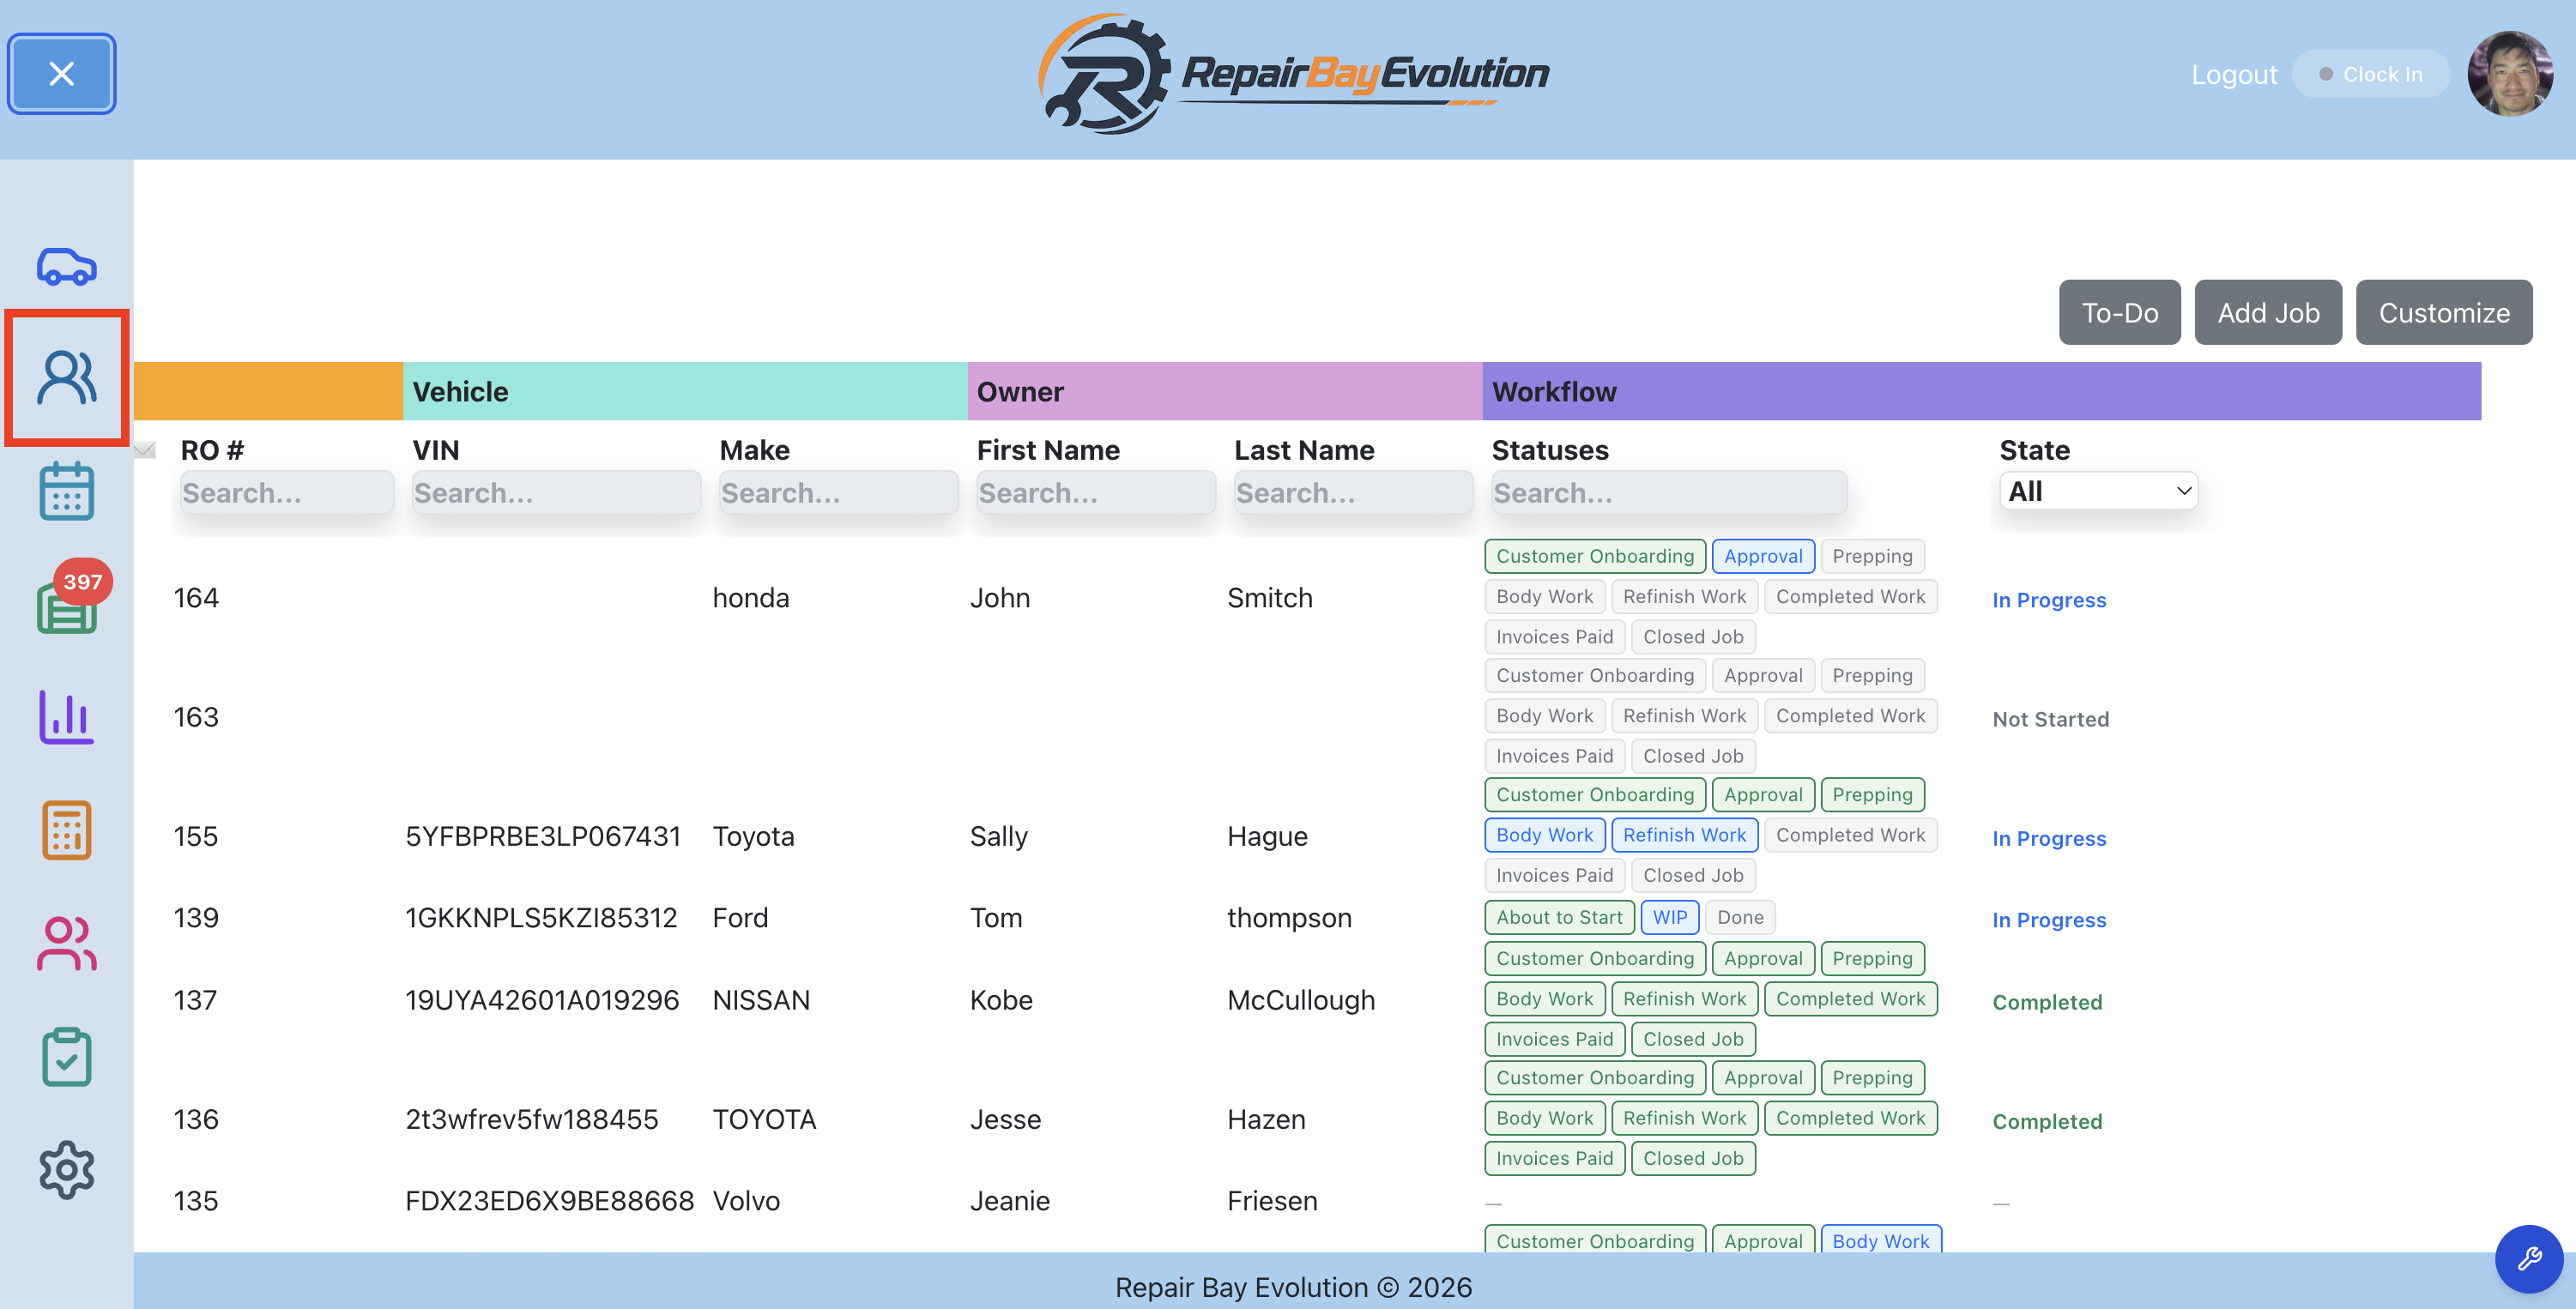
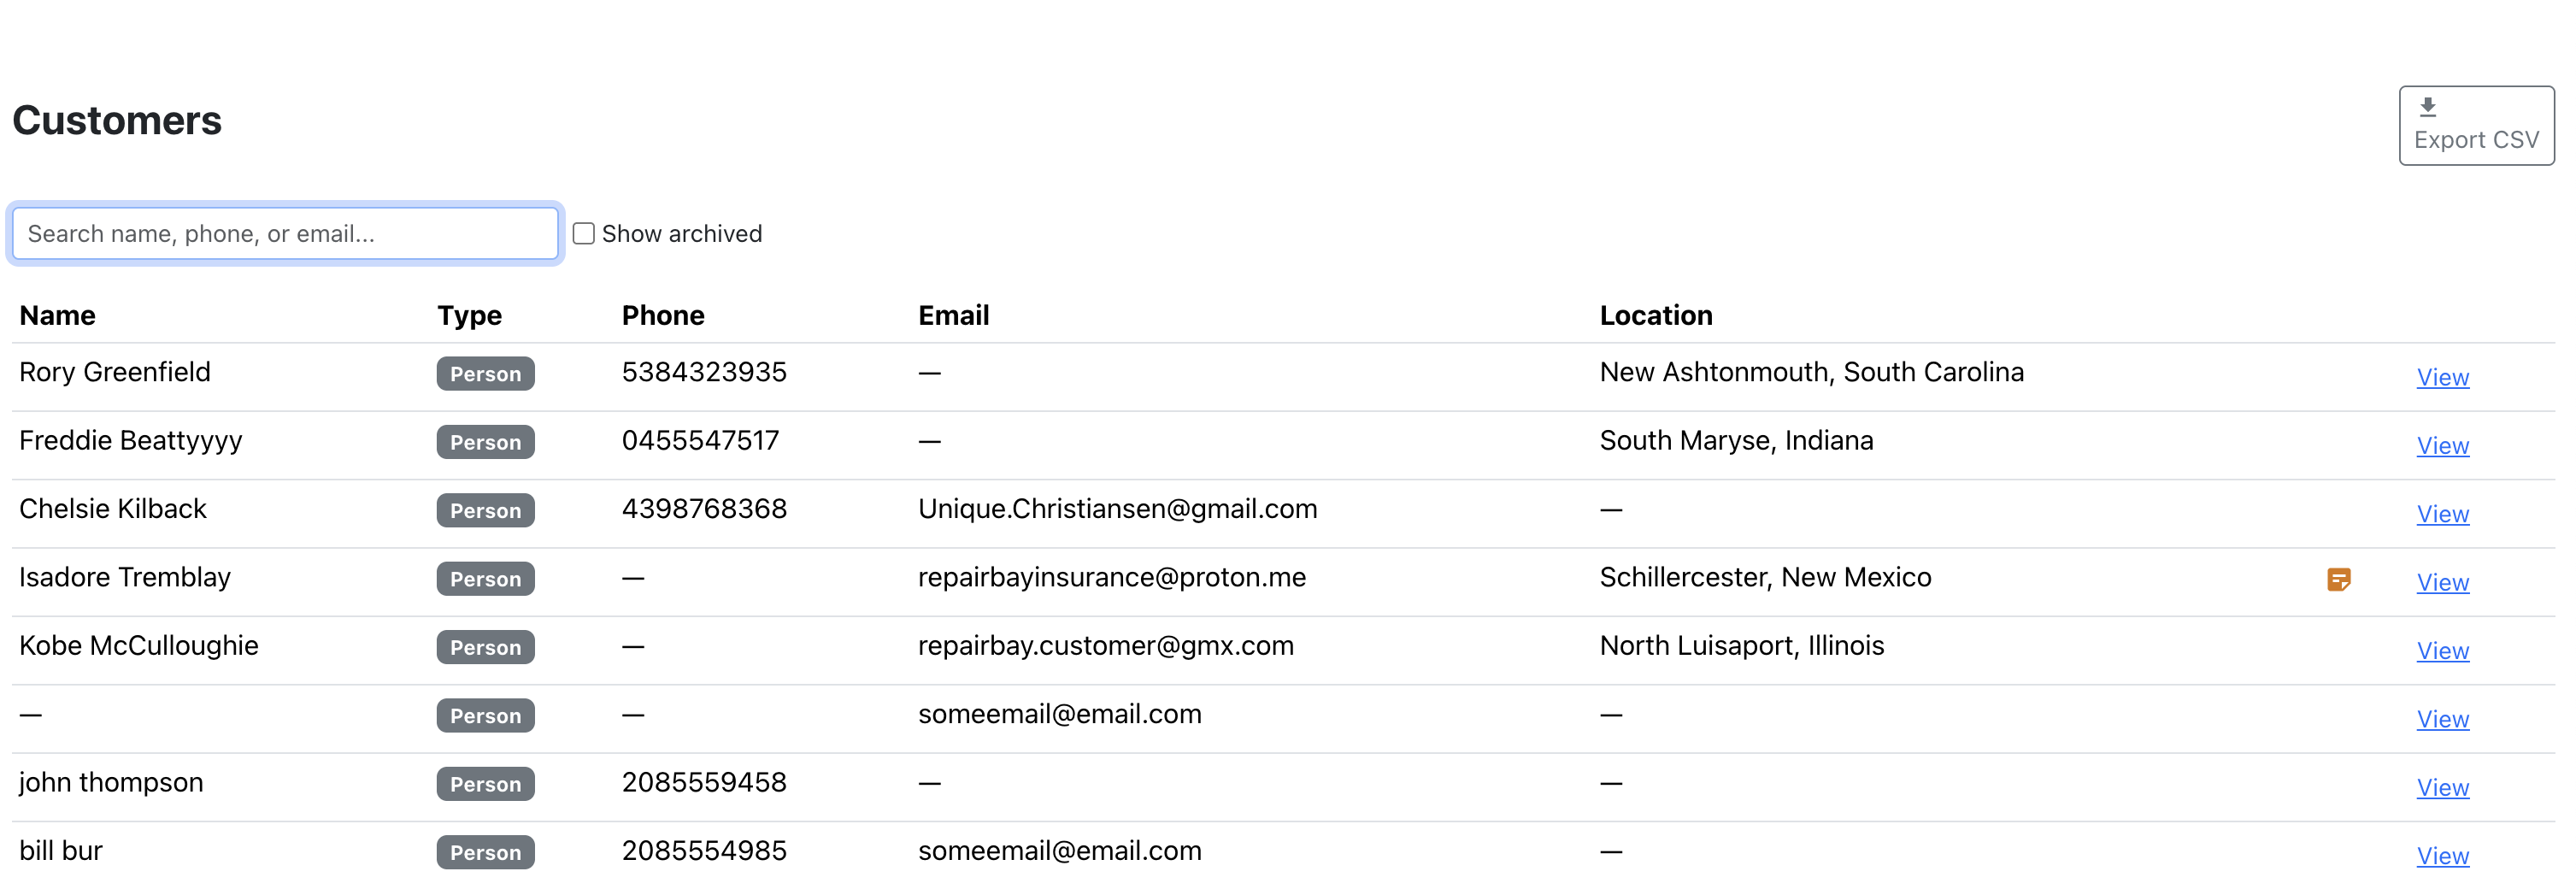
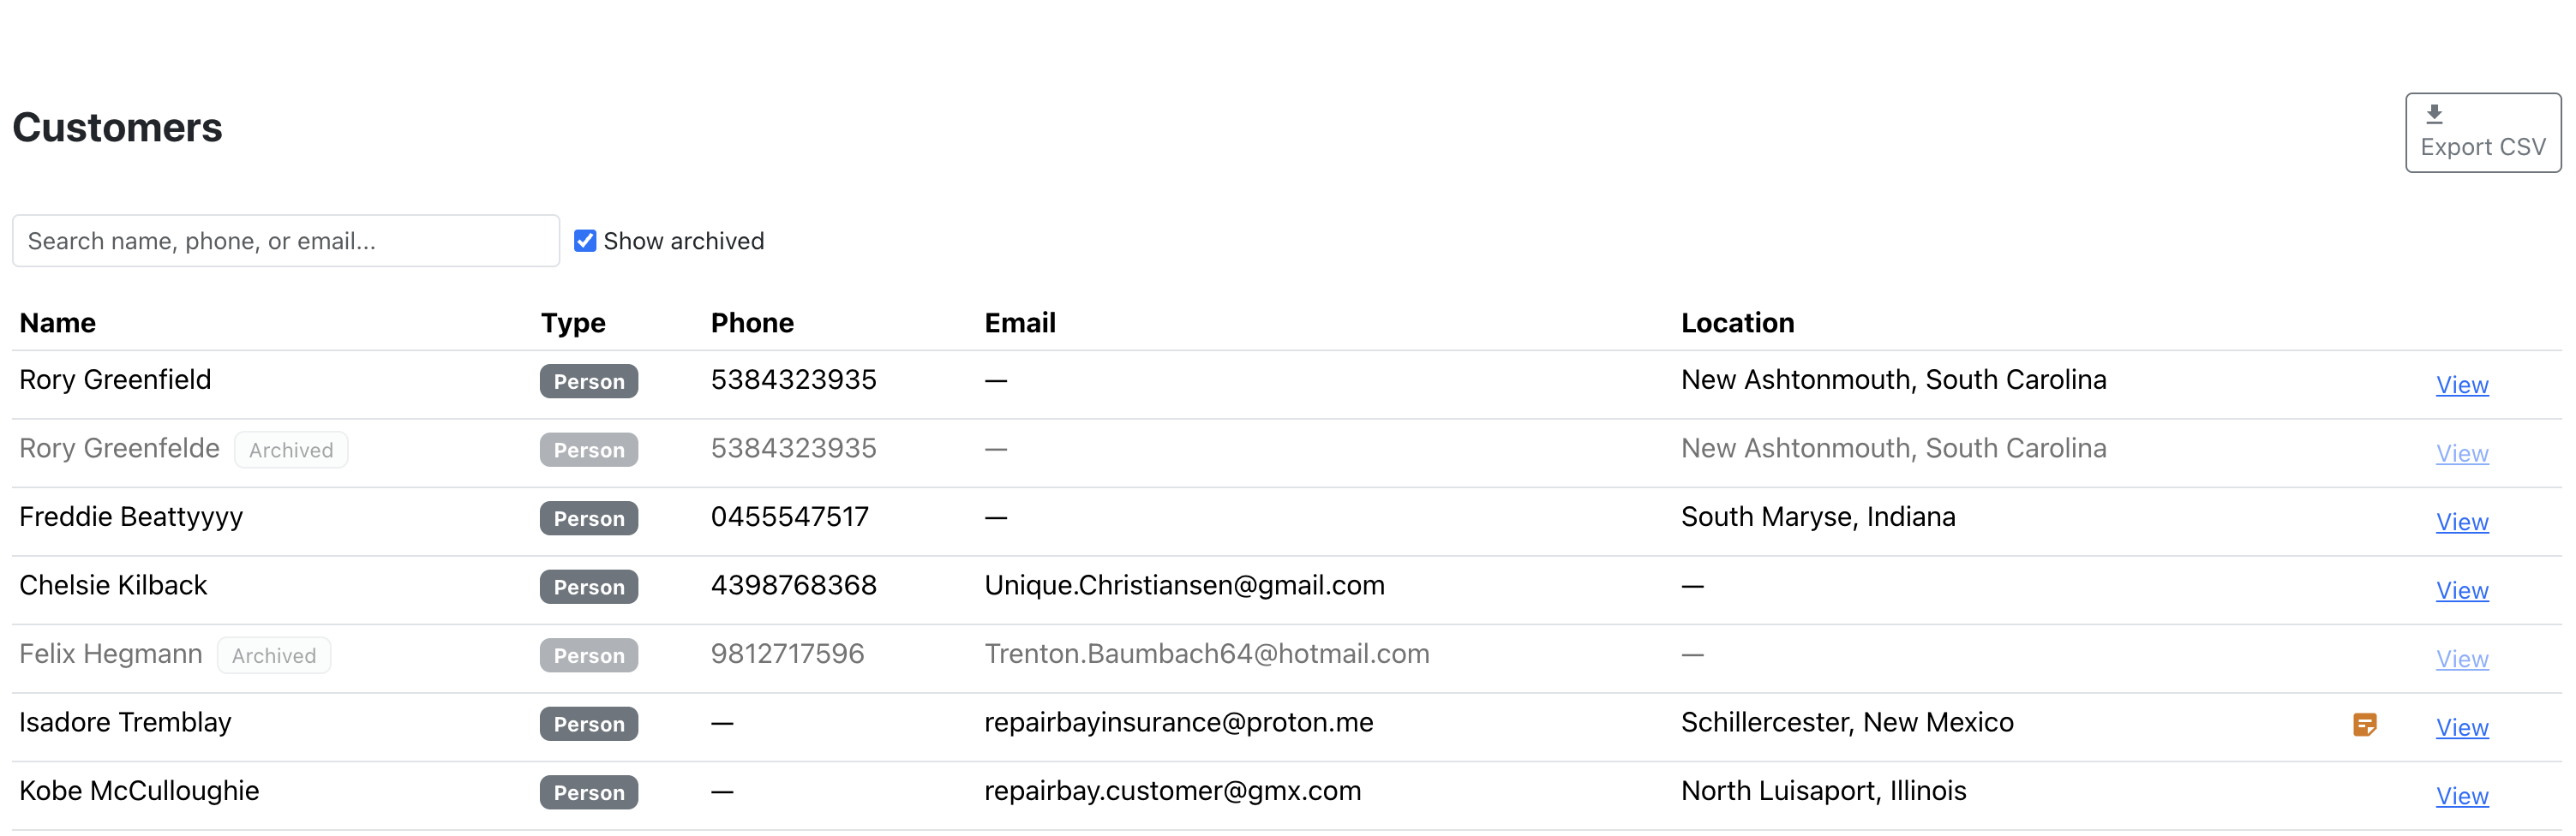
Overview: Click the Customers icon in the left sidebar to open your customer list. Each row shows the customer's name, type (Person or Business), phone, email, and location.
- Click the Customers icon in the sidebar.
- Click any row to open that customer's detail page.
- A note icon appears on rows that have a note — click it to read the note without leaving the list.
Search & Load More
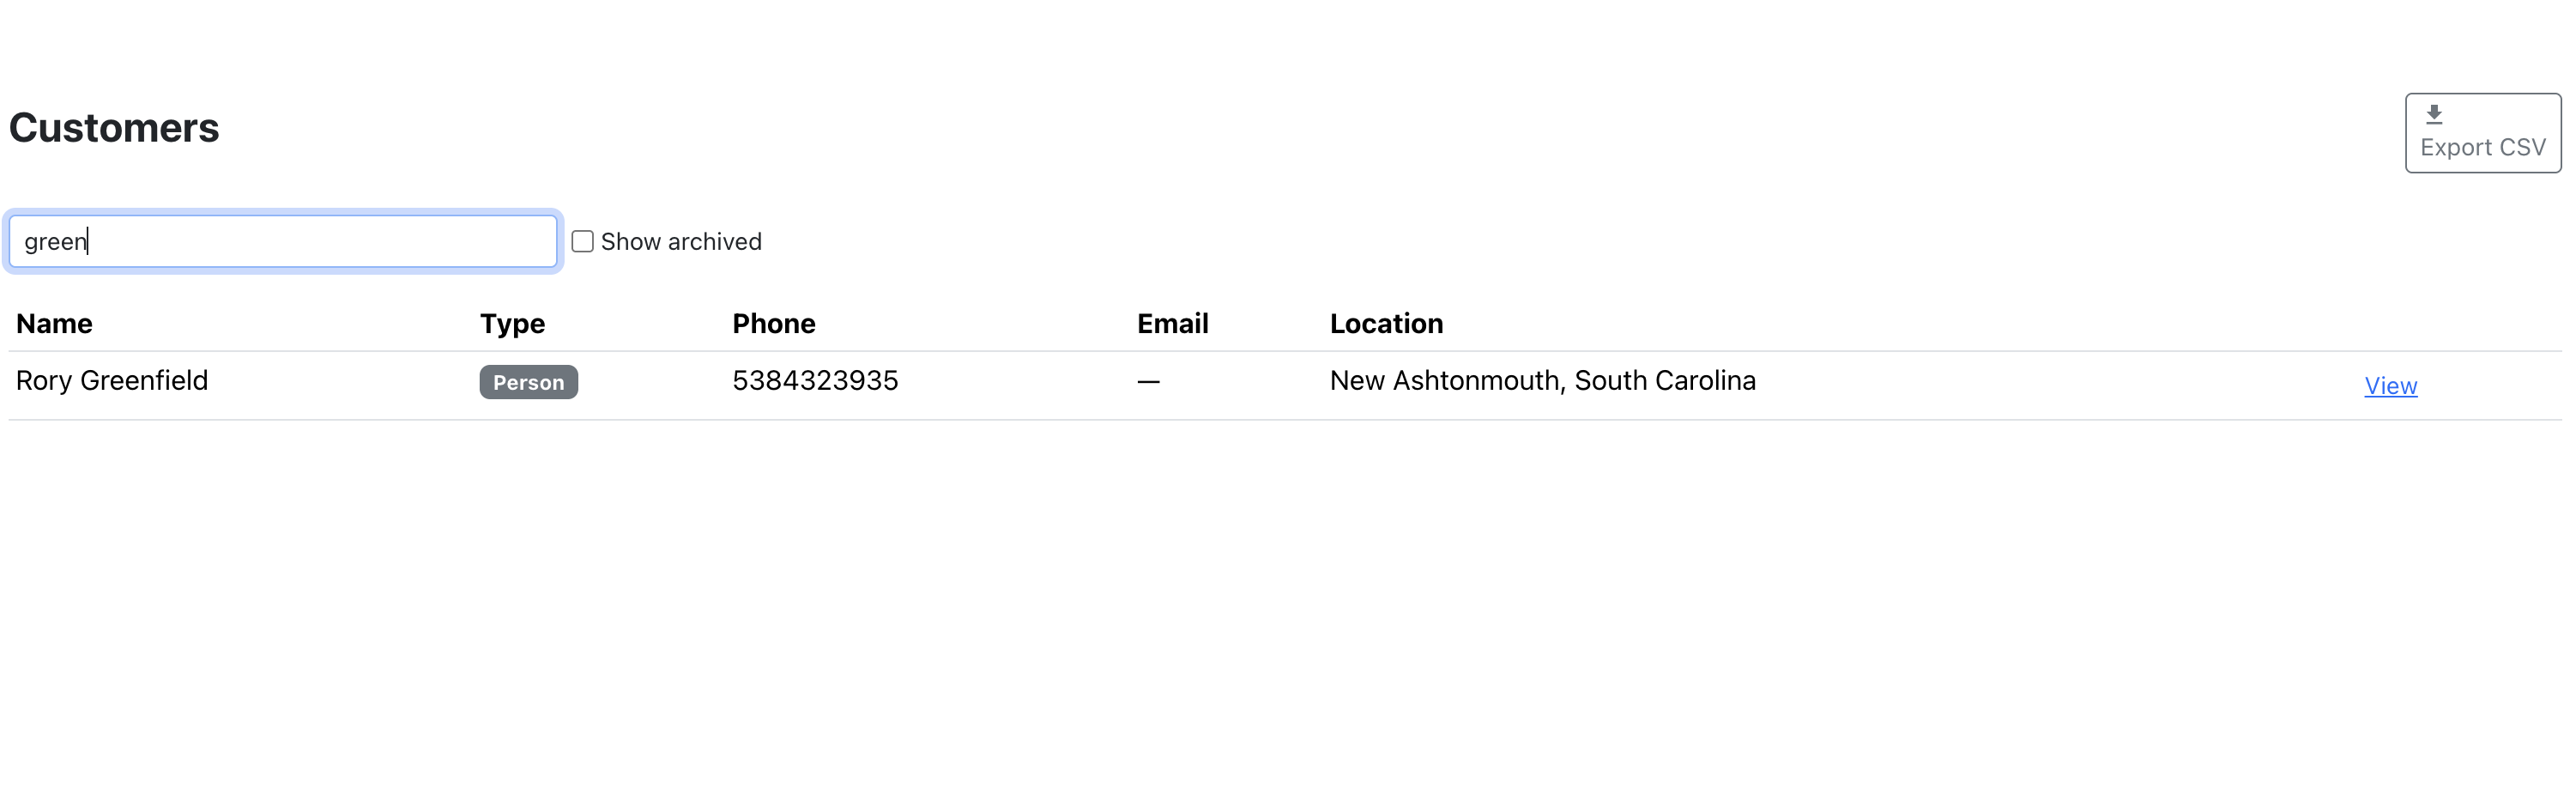
Overview: Use the search box to find a customer by name, phone, or email. When you aren't searching, the list loads in pages — click Load More at the bottom to see additional customers.
- Type a name, phone number, or email into the search box.
- Matching customers appear as you type.
- Clear the box to return to the full, paginated list.
Customer Detail
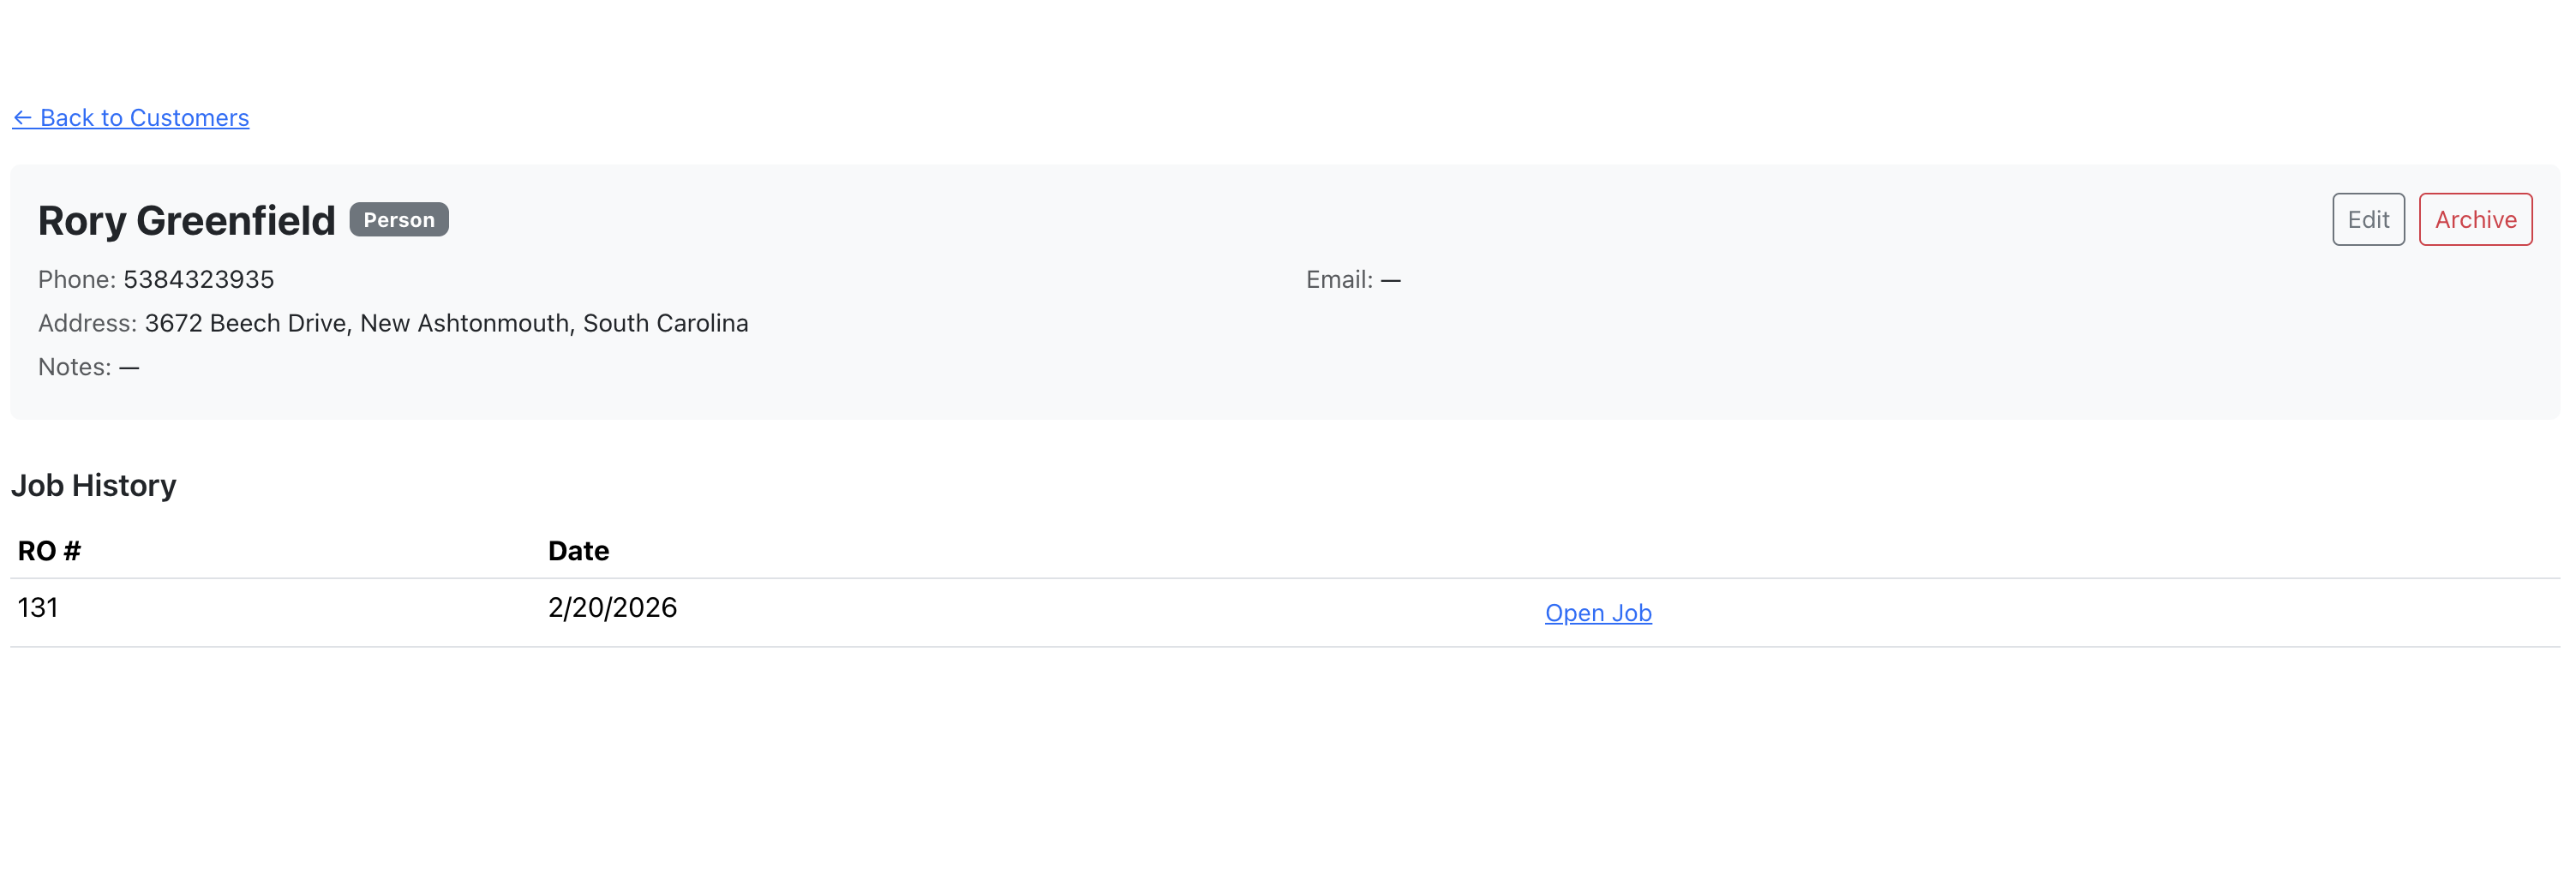
Overview: The detail page shows everything about a single customer: their name and type, contact information, address, notes, and a list of every job linked to them.
- From the Customers list, click a customer row.
- Review their contact information at the top.
- Use Edit to change details, or Back to Customers to return to the list.
Job History
Overview: The Job History section on a customer's detail page lists every repair order linked to that customer, newest first. This builds up automatically as the customer is linked to jobs over time.
- Open a customer's detail page.
- Scroll to Job History.
- Click a row (or Open Job) to jump straight to that job.
Note: A brand-new customer shows "No jobs linked yet" until they're linked to a job.
Editing a Customer
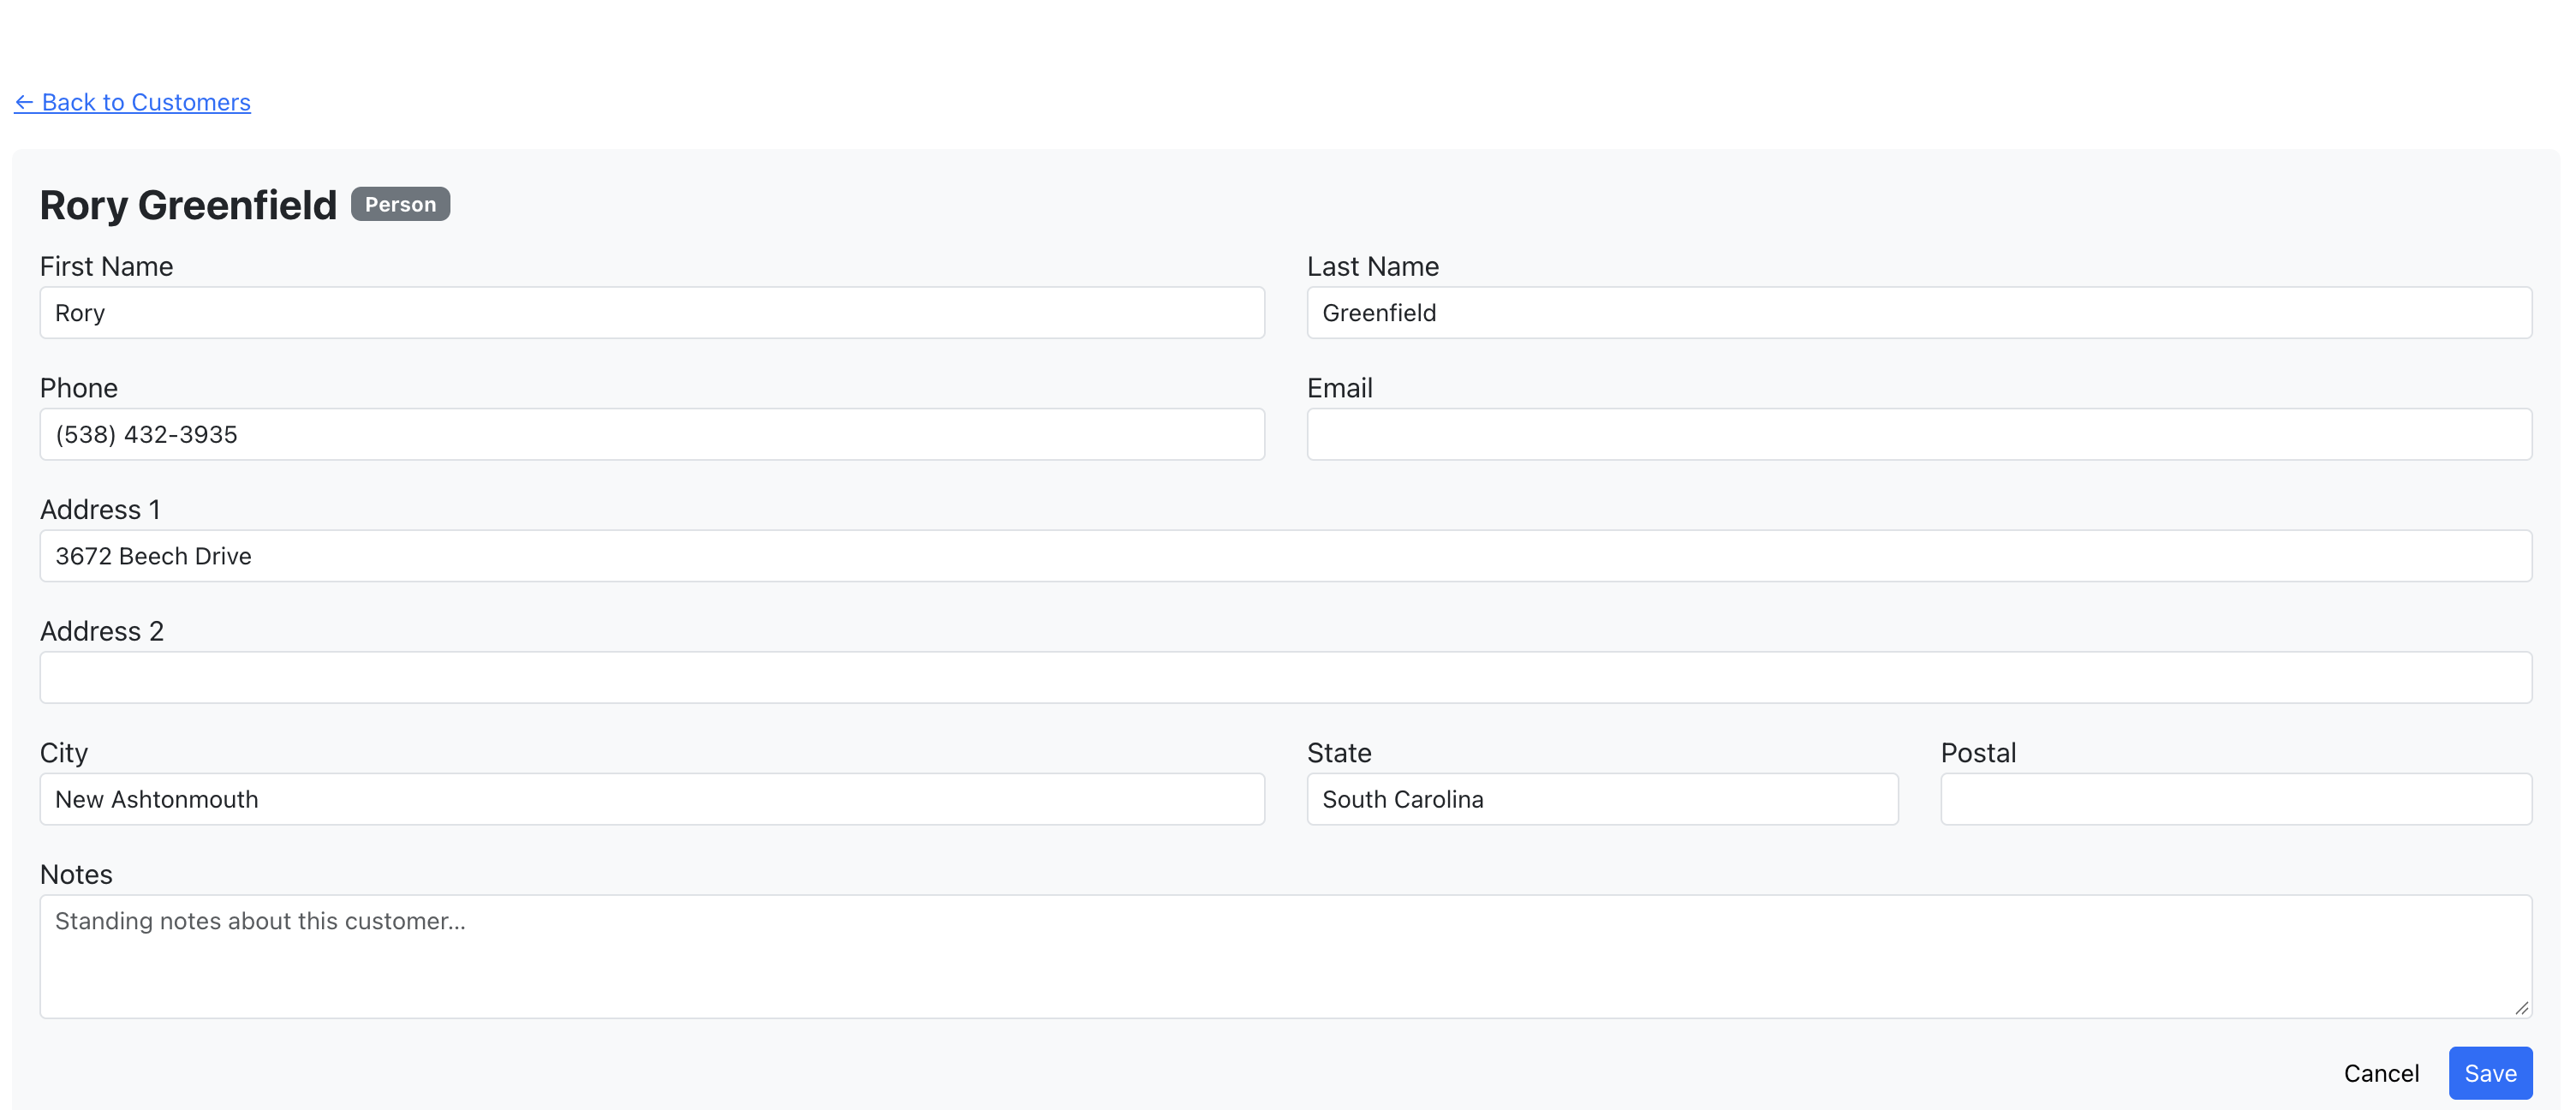
Overview: Edit a customer's name, phone, email, and address from their detail page. For a Person you edit first and last name; for a Business you edit the company name.
- Open the customer's detail page.
- Click Edit.
- Update the fields. Phone is formatted automatically; email is checked for a valid format.
- Click Save, or Cancel to discard changes.
Important: Editing a customer updates the customer record only. It does not change the contact information already saved on past jobs — those stay as the historical record of each repair. The updated details are what get copied the next time you reuse this customer on a new job.
Customer Notes
Overview: Keep standing notes about a customer — things like "prefers texts," "fleet account, net-30," or "call the office line." Notes live on the customer, so they're there every time, on every job.
- Open the customer's detail page and click Edit.
- Type into the Notes field.
- Click Save.
Customers with a note show a note icon in the Customers list — click it to read the note right from the list.
How Customers Are Created
Overview: You don't have to create customers by hand. When you add a contact to a job and give them a name, that contact is automatically remembered as a customer. There's nothing extra to click — it happens as you fill in the contact.
- A contact is only remembered as a customer once it has a name. A blank, nameless contact won't create a customer.
- As you continue filling in that contact (phone, email, address), the customer record keeps up to date with what you've entered.
- Once you've curated a customer directly (edited it on the detail page, or deliberately linked it across jobs), it stops updating automatically — your edits are preserved.
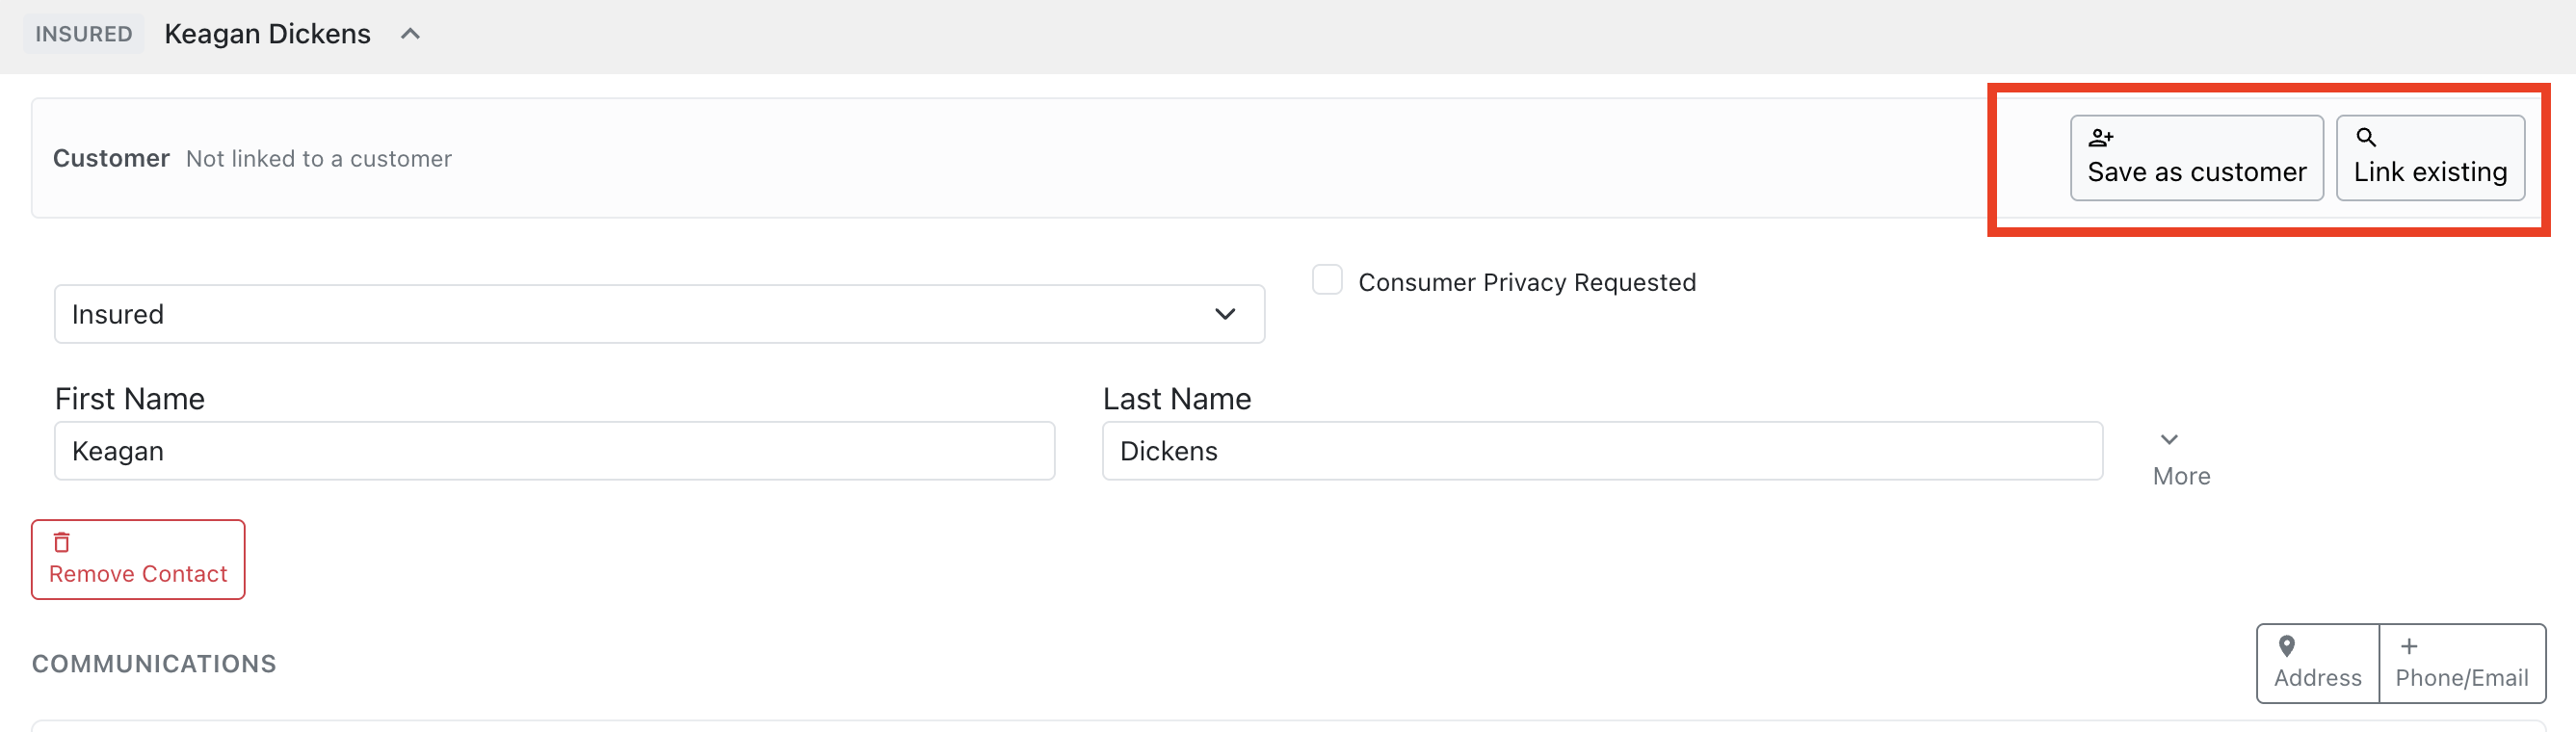
You can also deliberately save a contact as a customer using the Save as customer control on the job's contact (see below).
Find an Existing Customer
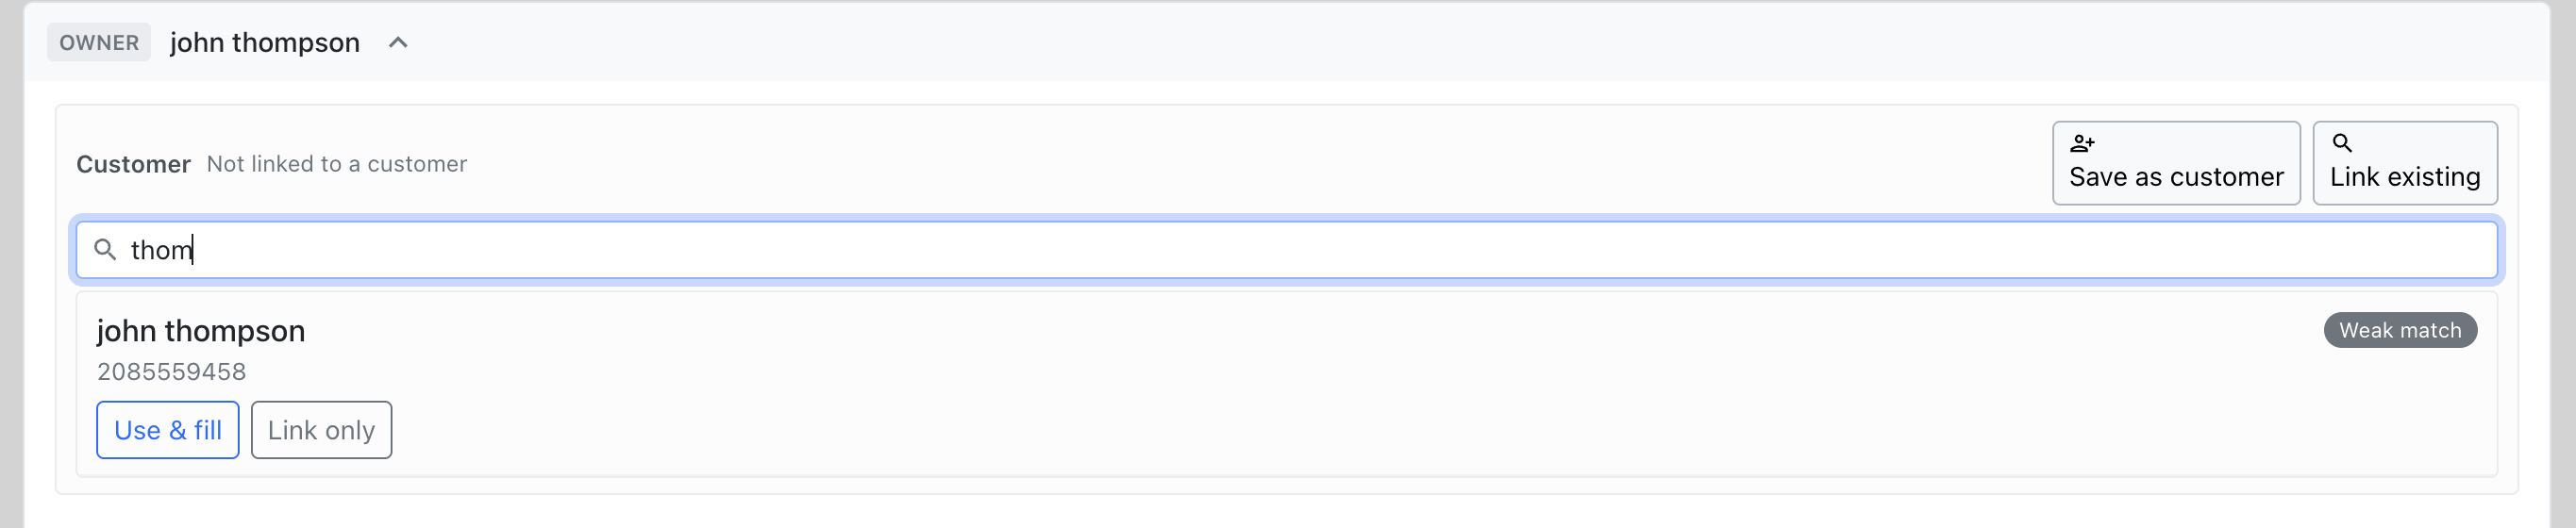
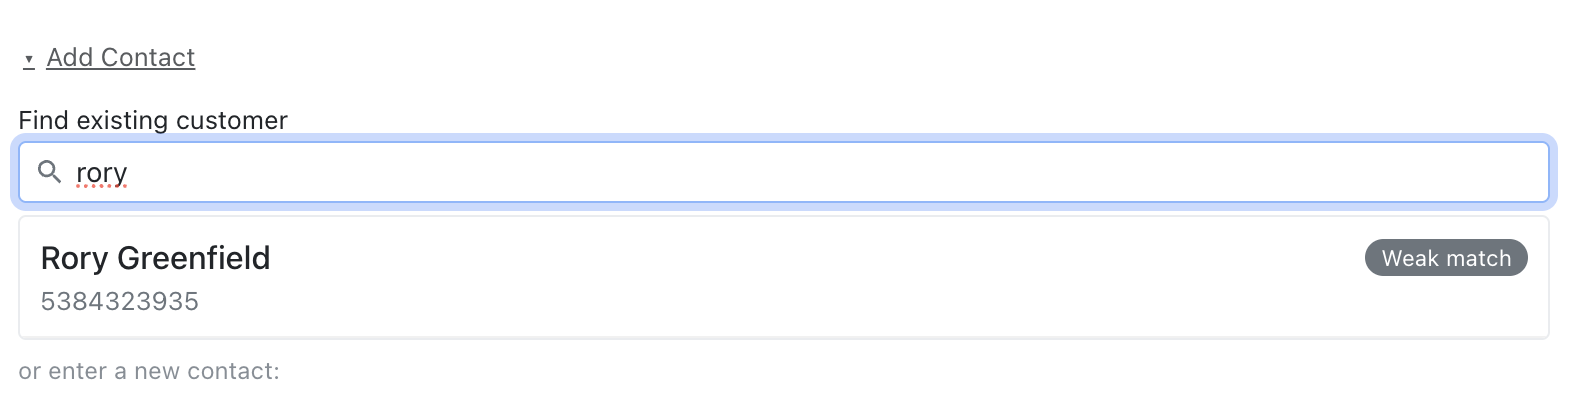
Overview: When you add a contact to a job, you can search your existing customers and copy one in instead of re-typing their details. This is the fastest way to handle a repeat customer.
- On a job, open Contacts.
- In the Find existing customer box, type a name, phone, or email.
- Matches appear ranked, each with a confidence badge (Strong, Possible, or Weak) and the reason it matched.
- Choose Use & fill to copy the customer's details onto the contact, or pick a different add option if none match.
Tip: Matches are suggestions — always confirm you've picked the right person before using them. Because a phone or email can be shared (a household line, a business main number), a single match is only ever shown as a possibility, not a certainty.
Link, Change & Unlink
Overview: Each contact on a job shows whether it's linked to a customer, and gives you controls to fix the link if needed.
- Save as customer — remember this contact as a customer (shown when the contact isn't linked yet).
- Link existing / Change — search and link this contact to an existing customer. Choose Use & fill to also copy the customer's info over the contact, or Link only to keep what's typed on the job and just fix the association.
- Unlink — detach the contact from its customer. The contact's info on the job stays; only the link is removed.
Use Change + Use & fill when the wrong customer was applied and you want to pull in the correct one's details. Use Link only when the details on the job are right and you just need to point at the correct customer.

From Appointments
Overview: The same existing-customer search is available when adding a contact during appointment booking, so you can reuse a known customer without leaving the New Appointment screen.
- In the New Appointment screen, open the Add Contact section.
- Use Find existing customer to search and copy a customer in, or enter a new contact below.
Archive & Restore
Overview: Archiving hides a customer from the list, search, and match suggestions without deleting it. Linked jobs keep their contact information, and you can restore the customer at any time.
- Open the customer's detail page.
- Click Archive and confirm.
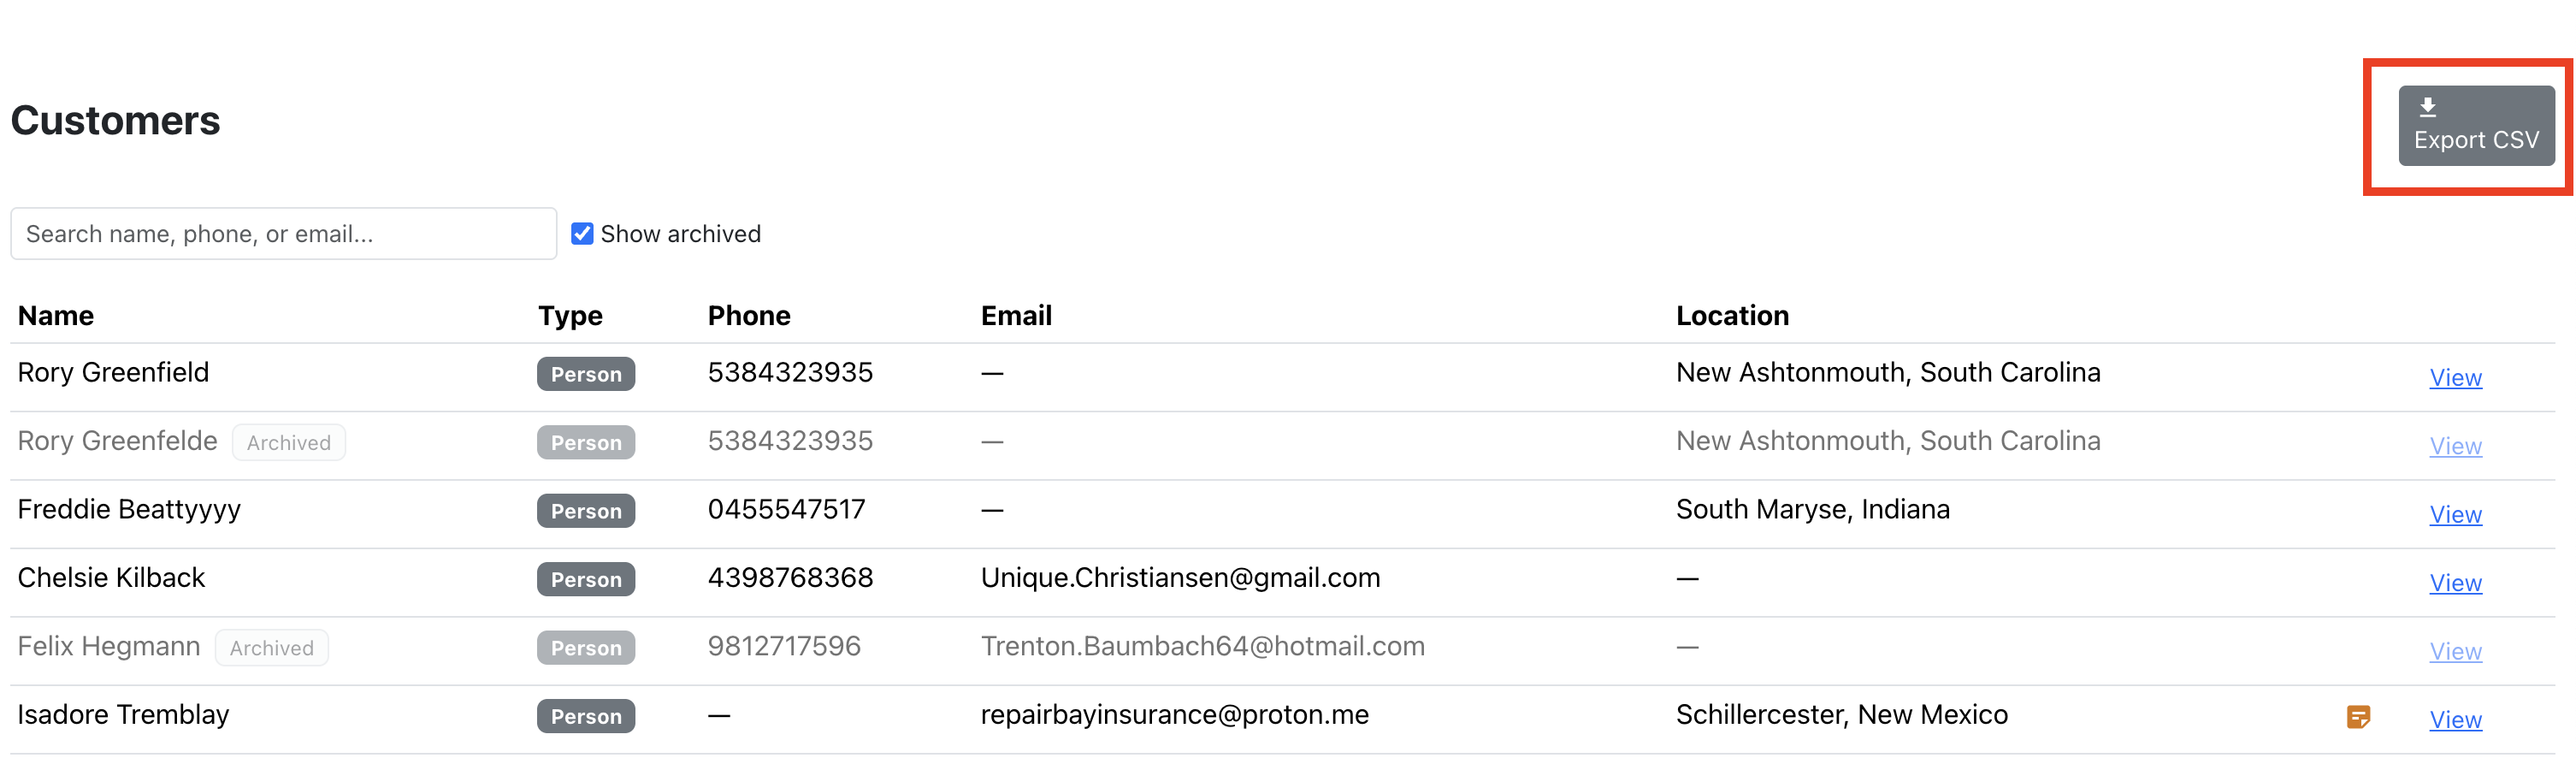
- To see archived customers, turn on Show archived on the Customers list — archived rows appear dimmed with an "Archived" badge, and search includes them while the toggle is on.
- Open an archived customer and click Unarchive to restore it.
Note: Archived customers never appear as match suggestions when adding a contact — only the deliberate "Show archived" toggle reveals them.
Export to CSV
Overview: Export your customer list to a CSV file (opens in Excel, Google Sheets, etc.). The export matches what you're viewing — it respects your current search and the Show archived toggle.
- On the Customers list, set your search and Show-archived options as desired.
- Click Export CSV.
- A file named like
customers-YYYY-MM-DD.csvdownloads, with name, type, contact details, address, notes, archived status, and created date.